
**but still a long post with a ton of photos!**
my students signed up once and were automatically registered for the class each month. they chose either the Thursday Option (6:00 pm to 9:00 pm) or the Saturday Option (10:00 am to 1:00pm). the class was held on the last Thursday or Saturday of the month. the only time we made exceptions were due to holidays. the most extreme was Christmas....in which case we all decided that it would be better to meet mid-month, rather than in the middle of Christmas and New Years' when life was busy and unorganized!
when you register, you will commit for the year. if space allows, you could register for a class on a single-time basis. the number of spaces are very small. also you will want to check back to my blog at the beginning of each month to see the layout, then register!
i also work very hard to finish the up-coming layout of the month to be viewed at least a month before the scheduled class. for instance at the January class, i intend to have the February layout complete and ready to share. once my classes have seen the layout, then i post it online for "the world" to see. it is also nice for them to look ahead and either plan photos to take that month, or to find photos that will work with the layout.
if anything needs to be die cut, i do that ahead of time. i try to do as much pre-cutting or prepping ahead of time so that there is time in class for the fun technique stuff. at the start of each month you will also be emailed a supply list. some items are optional...if they are, it is because you may need to share this tool....so it will be less time consuming if you don't have to share! or it may be an item i used on my layout, but could be substituted with something you may already own.
here is the fun stuff.....
JANUARY
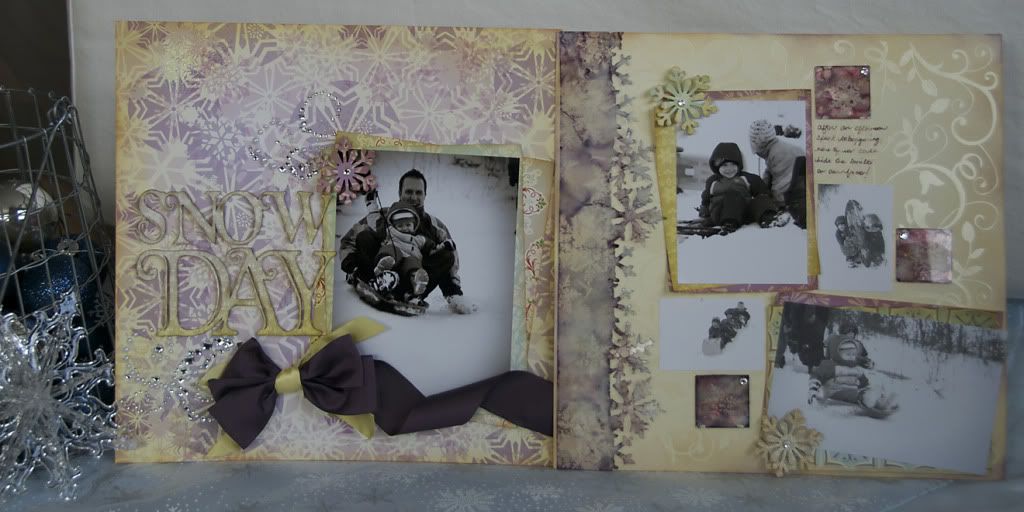

the technique we used was a "ghosting" technique that Tim Holtz discovered by accident. this was a fun class because the students had a lot of time to experiment with it. the design was also very simple and i think the majority completed the layout in the 3 hour class time. this was a perfect class technique because it allowed for learning error and allowed for some design changes if desired.
FEBRUARY

glitter!
2 different types of glitter: fine and coarse.
2 different application methods: double sided and liquid adhesives.
and a new twist on the types of glitter to customize your design.
this was a super messy class. i think we were sweeping up the glitter for a few months afterward. ha! we were all glad that we did not have to make the mess in our own homes. although many of the girls loved the glitter enough to use it on other layouts. of course, nearly a month after this class we had a guest instructor who introduced us to a handy-dandy glitter picker upper tool. that would have been soooo handy to have had!
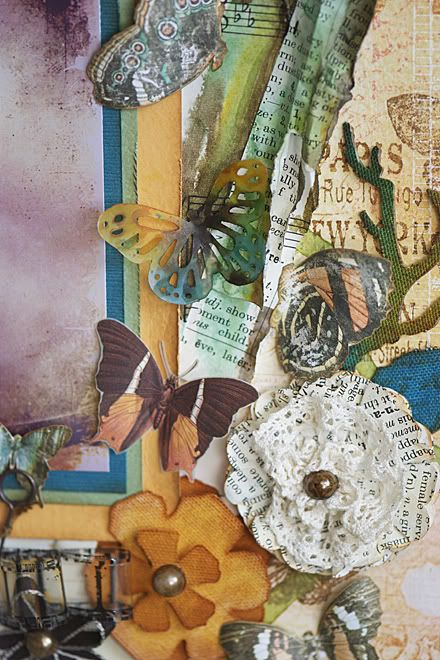
MARCH
masking techniques! Maya Road sells their version of the artistic masking fluid with a narrow nozzle to draw intricate designs.
the technique also used the Ranger Colour Wash. i think its' original purpose was to be used on fabric. but it works amazing on grunge paper....the Butterscotch colour gives a lovely worn-leather look. and paper!
the new tissue tape was also used. an old favourite - Distress Embossing Powder - was also brought in. honestly i don't utilize this cool supply often enough. it takes your heat embossing to a whole new level.
this was one of those layouts that was very difficult to finish in the 3 hour time frame. there were a ton of details that simply took time to complete. lots of techniques to experiment with.
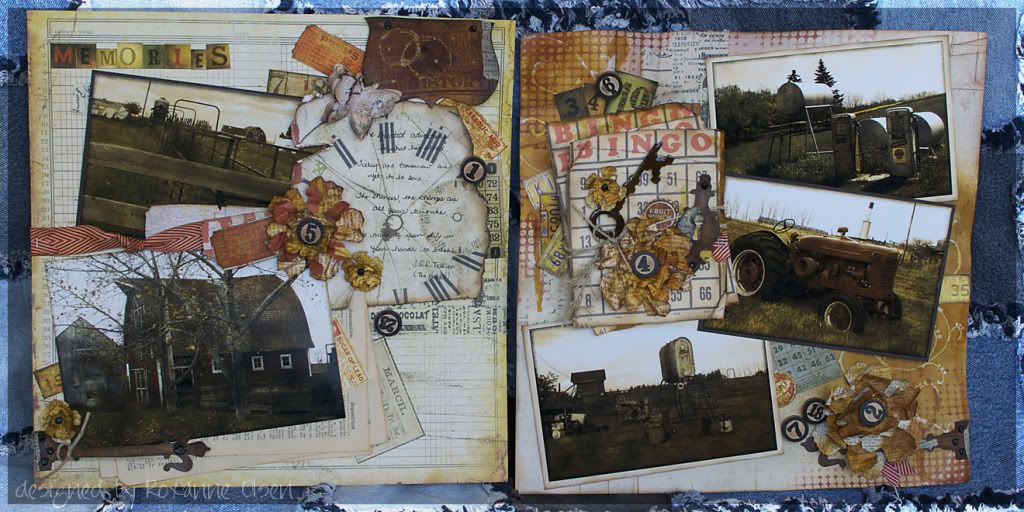
APRIL
this month Pat challenged me to make my own patterned papers. she sent me home with several sheets of white background paper, a set of stamps, one sheet of patterned paper and a few other little details.
we had just attended the annual Edmonton Scrapbook convention and were left feeling inspired by Tim Holtz and Marie Romney-Aslett. the distress stains were also brand new on the market. i had been messing around with them and decided that they were so similar to a concentrated watercolour. after that it was love!! using a variety of ink pads, stamps, acrylic paint and distress stains....we created our background as well as a few embellishments.
another time-intensive layout. a huge leap of confidence for everyone. lots of time to experiment and play with the colours provided. just not a great deal of time to assemble the parts in class.
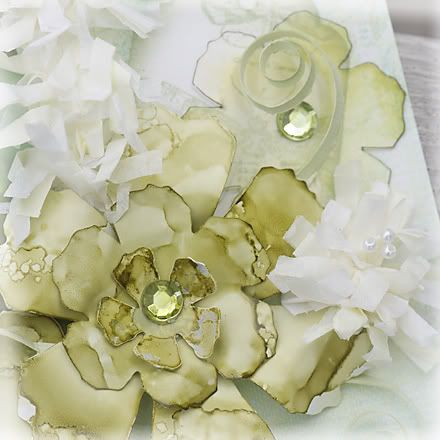
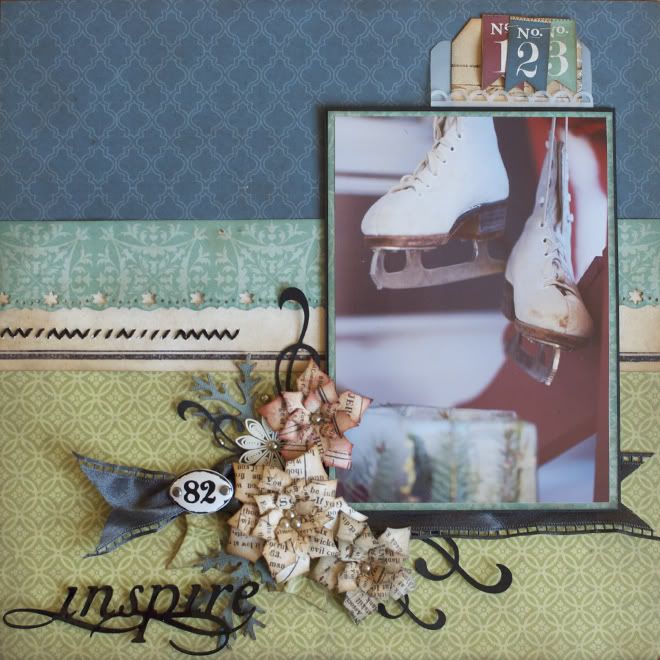
MAY
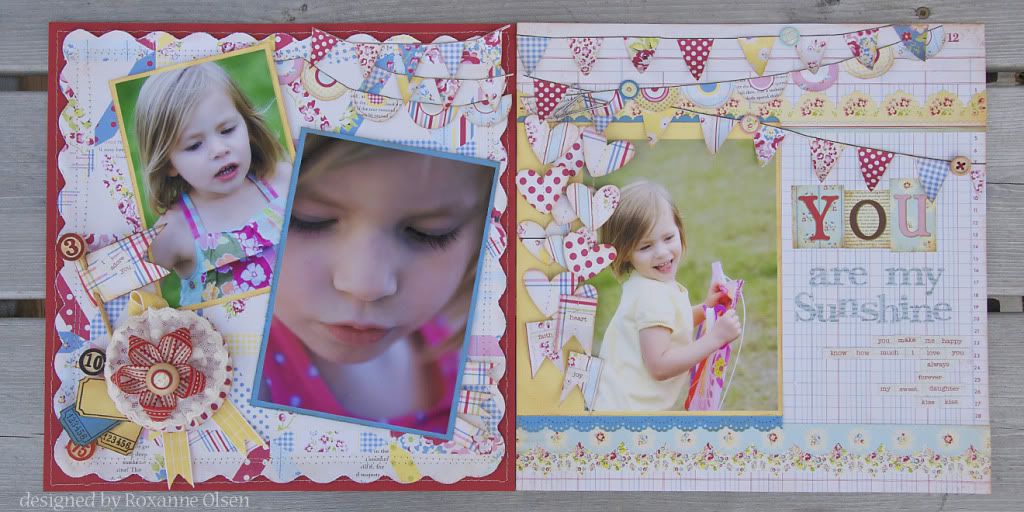
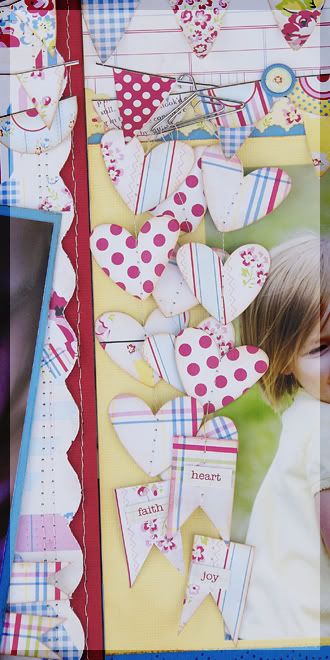
sewing!
this paper was the last set of The Girls' Paperie products designed and produced by Margie Romney-Aslett. as i designed this layout, i thought back over our conversations with her. remembering that she came up with the design from this paper by her memories spent with her Grandmother. quilts and old time country fairs were my inspiration. yes, we used a regular sewing machine for this technique!
JUNE
Pat felt i was up to another challenge. this time she encouraged me to design a monochromatic layout. as soon as i was done i decided that i wanted an entire album that was monochromatic....for each colour in the rainbow.
a bonus was using the Clearly for Art in white to design the flowers. another material that allowed for error and customization. and....most finished in class....except for the photos....many wanted to try the photo collage in the digital way!
another bonus was the chance to be taught digitally and the paper way of creating a photo collage on your page. i'd like to repeat this in another layout this year. you can fit so many photos on a page this way.
JULY
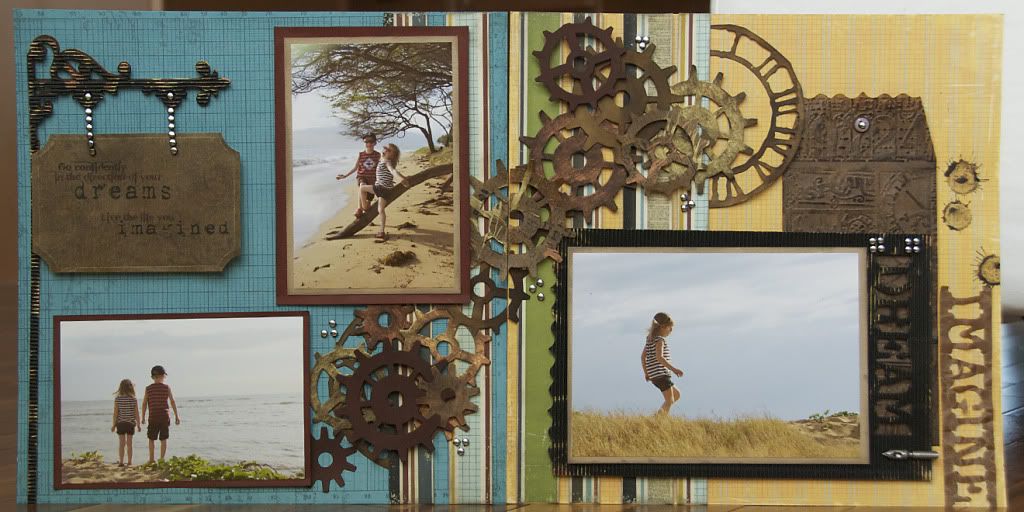
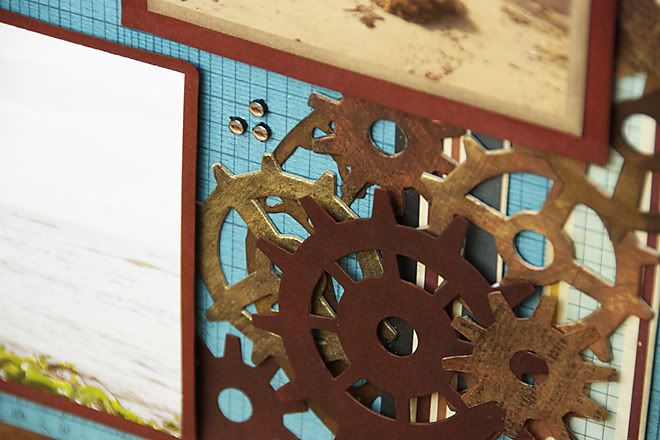
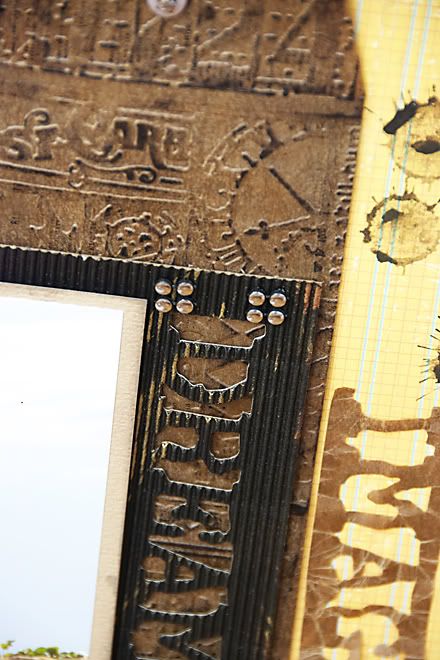
we now had a couple of very feminine layouts, so it was time to include a masculine version.
Kraft Glassine was the main focus of this class. we embossed it, crumpled it, die cut it, inked it with dye ink and alcohol inks, stamped and typed on it. we also used alcohol inks on chipboard to replicate a metallic look for the gears.
this month i had so much die-cutting to do. each set of gears had to be cut from 3 colours of cardstock, one of chipboard (or was it two?) and one of kraft glassine. and that was just the gears! i also had a clock, a sign and 2 words, and a set of borders. i also had to do some design in Photoshop and some printing for each kit too. i recruited my husband and we spent an afternoon and evening bonding over the Vagabond.
the dry embossing was using embossing folders....i brought in my collection and my Vagabond.....and let them customize their own.
despite all the work i had to do, and the amount of work required in class...most finished this one in the class time too. phew!
AUGUST
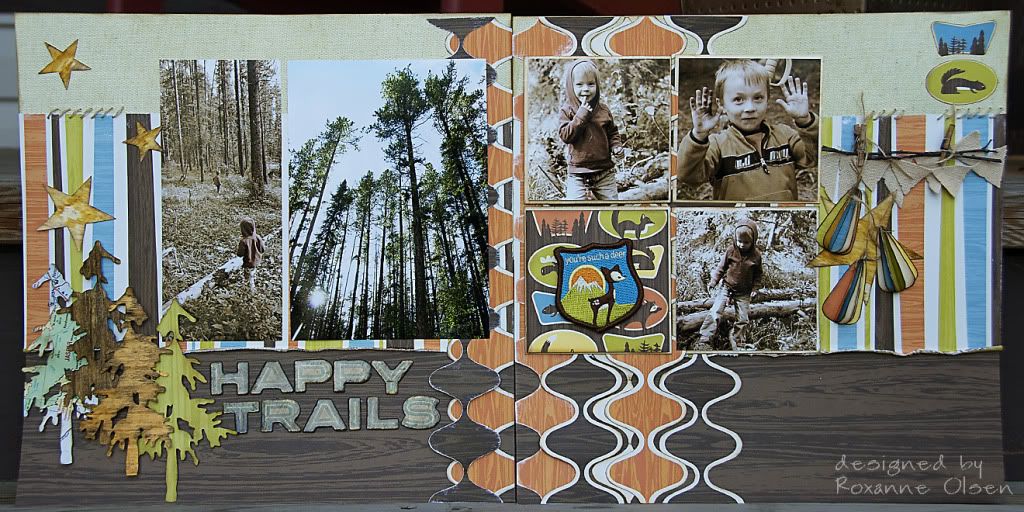

many of my students were taking holidays that involved camping or hiking. they needed something that could share those photos!
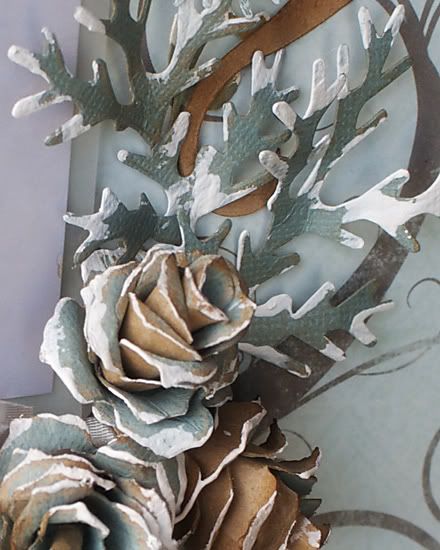
the techniques revolved around wood. wood veneer. real wood twigs. wooden clothespins. wood grain dry embossing. wood grain printed papers. i also came up with my version of a pine cone. i also included some canvas....for those of us who have tents or tent trailers...thankfully we have better material options now....but it was for nostalgia.
another layout that was mostly finished during class.
SEPTEMBER

texture!
glitter paper. metallic foil. kraft glassine. felt. twine. vellum. clear acrylic.
we just added alcohol inks for colour. then spritzed with Perfect Pearls for shine.
and i created another 'pine cone'. made from felt. however i was actually trying to make a flower. is that a failure or success?!
i saw a lot of finished layouts in these classes too.
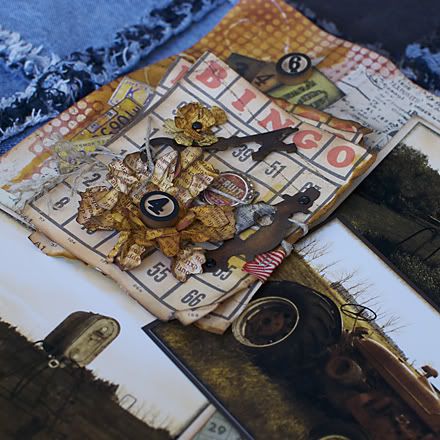
OCTOBER
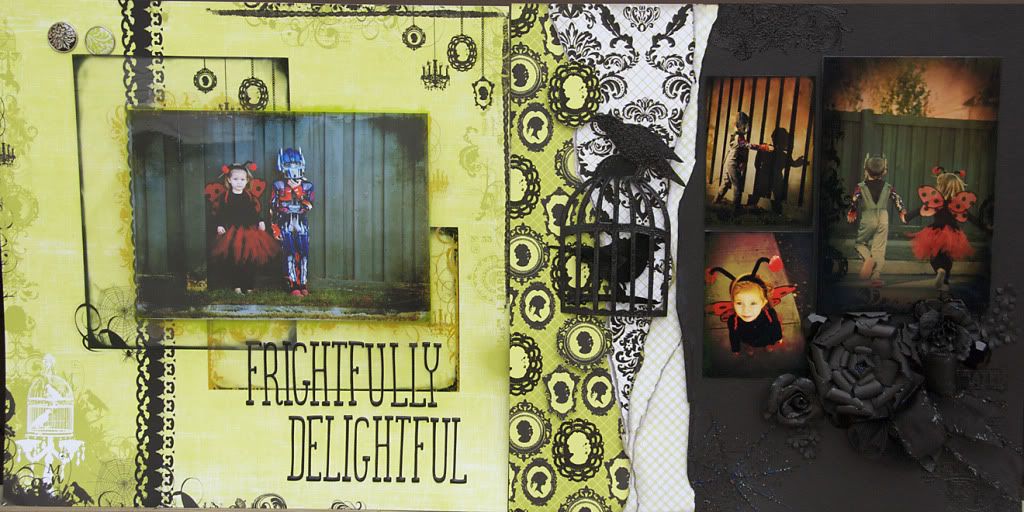
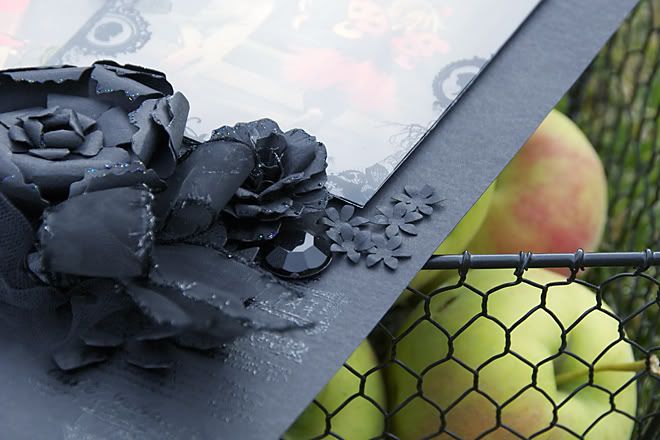
black.
black flowers on black background. clear embossing powder on versa mark inked stamps. black gems on black. double heat embossing to create smooth surfaces.
and the loveliest set of clear frames ever designed to date. i had to use all of them!
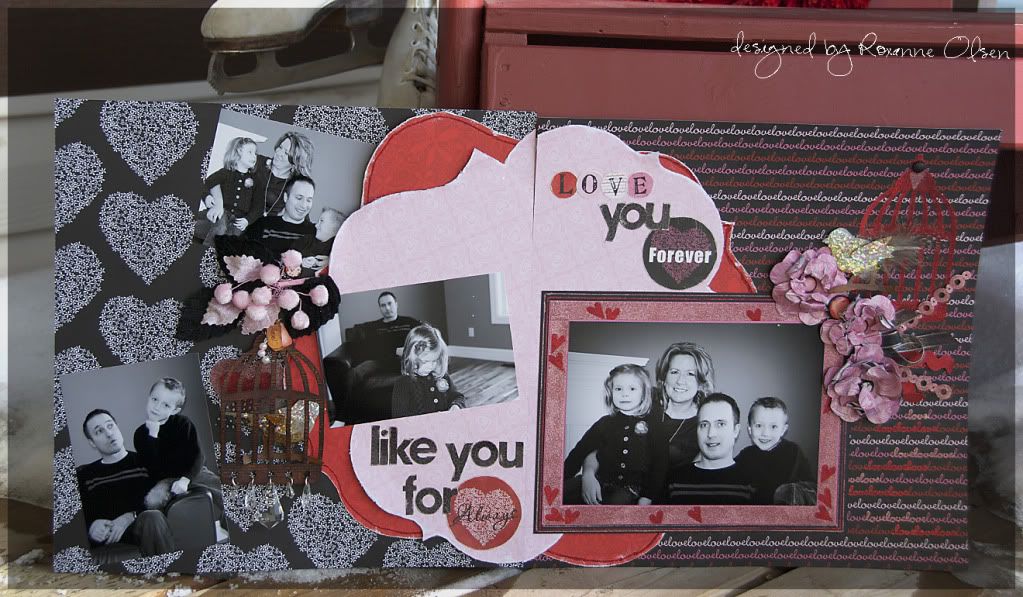
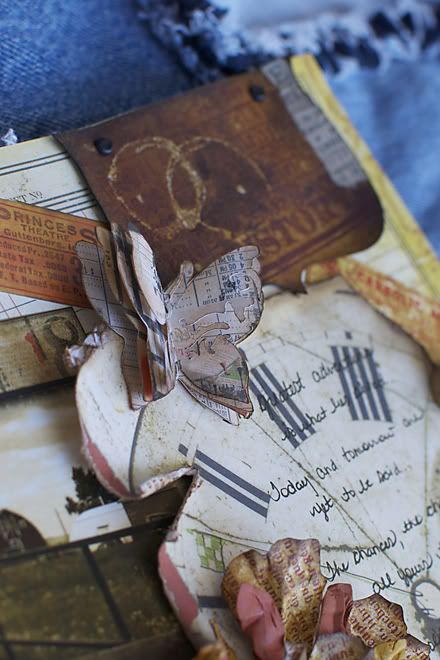
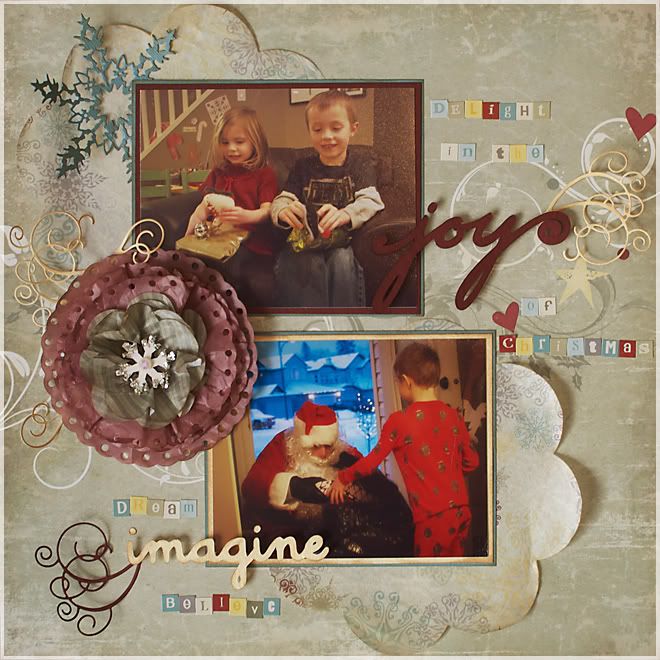
NOVEMBER
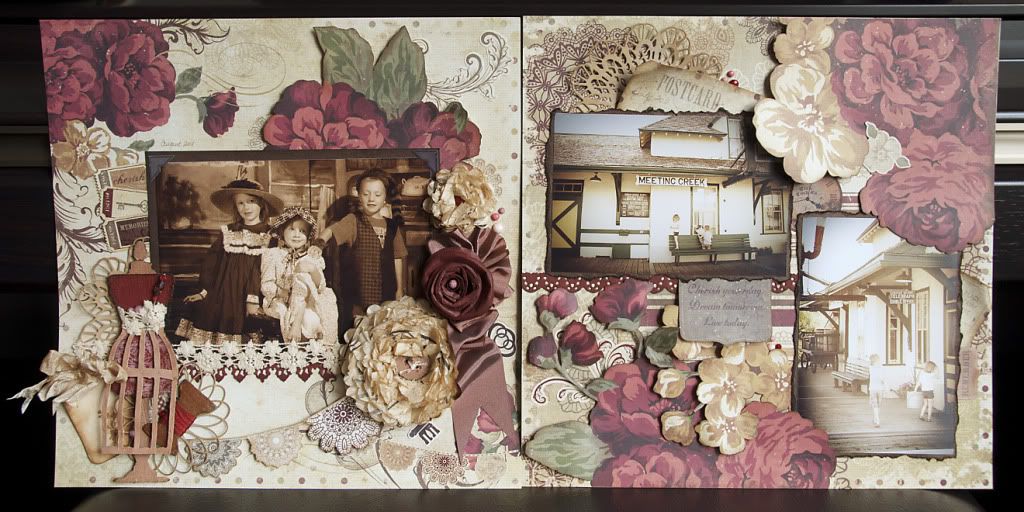
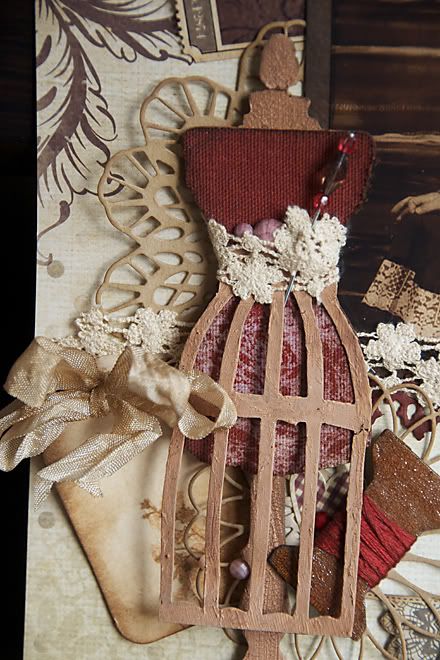
another feminine layout. this time historical vintage.
the technique? tea. we used a 'tea dye' coloured ink pad and 'tea dye' coloured crackle paint. we even had to try dying paper and ribbon with real tea. had to use real tea to get to the historical accuracy, right?! this one involved a lot of detail cutting. there were also so many little details that the students had plenty of options to customize their final layout. an entire sheet of stickers will give you that option!
the great part about many of the materials used this month, is that they could be custom coloured to suit different papers.
we did a lot of time-consuming techniques in class. which did leave some work for later. i had a few from my Saturday crew that finished their day working on the layout in the store!
it was neat to hear what kinds of photos people were using. some just took every day photos and printed them in sepia tones. others used real vintage photos (lucky them! i wished i had some to use) one of the girls found that the paper matched her daughters graduation gown perfectly. that was cool...and will look perfect, especially with the dress form accent.
DECEMBER
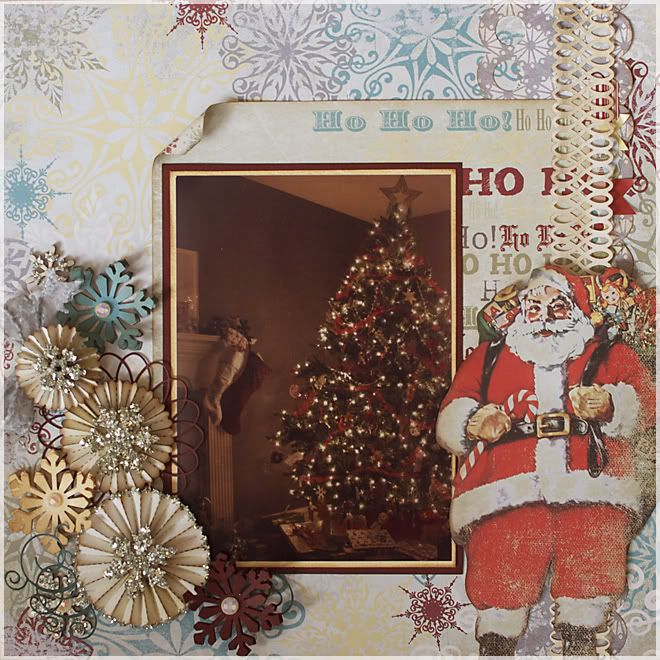
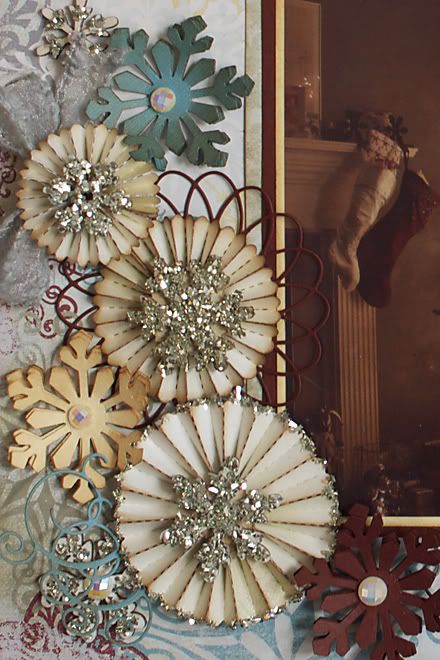
more glitter! this time glass glitter.
we also took some other techniques learned during the year and revamped them slightly. like altering one Tim Holtz Rosette die cut to create different sized rosettes. as well as another use for distress ink stain. this time the Picket Fence version. it is a must have. also a few uses for Filter Paper...which we all agreed felt more like tissue paper....and which we all liked better anyway! we did get a few chuckles thinking that last month was "tea" and this month was "coffee".
i also realized how crazy i was. i spent an entire day just cutting paper for the kits. the time i spent doing this meant that there was less work for the students. which meant a simpler layout during a busy month when extra time is just not found.
BONUS EXCLUSIVE!
***the other classes allowed for extra spots and single-time (or triple-time) registrants could pick and choose a class to take. this class is only available to those who registered for the entire year of classes. when their album is completed, they will have an empty front and back page. this way, their album is also complete. they are not automatically registered for this class, as it is a bonus. but there is no fear of them not getting a spot in the class because there are guaranteed a spot. but i do encourage them to sign up as early as possible!!

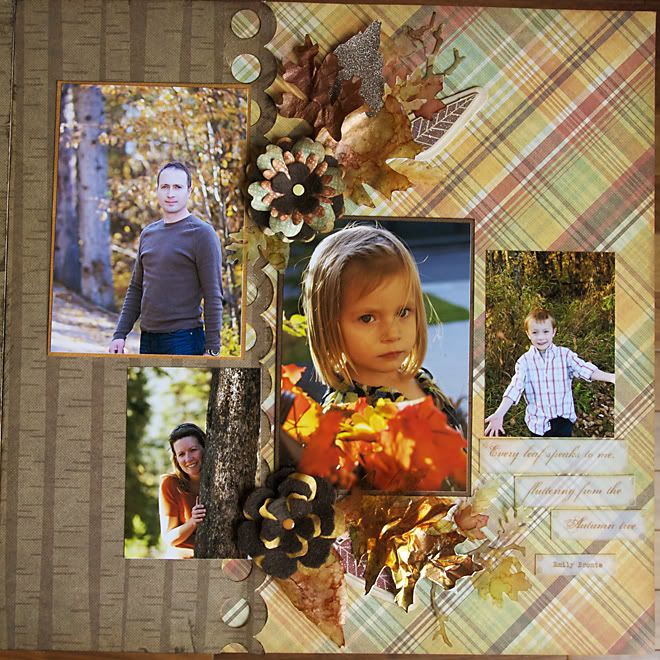
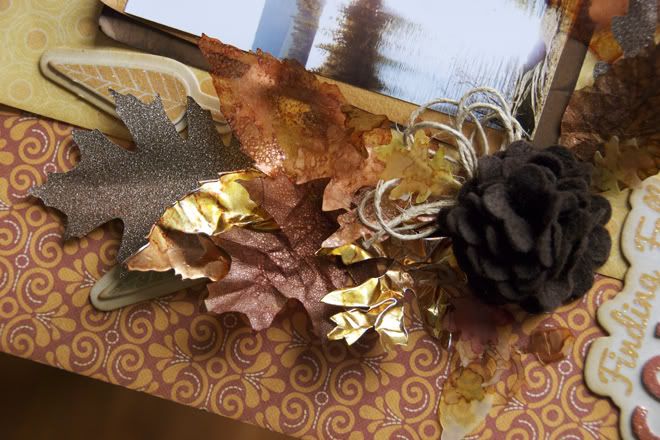
i used an "autumn" paper line for a winter set of photos.
the first time i will be teaching how to make these pine cones.
i originally thought this would be my FIRST page...but then i created the next one....


i thought the title gave it a great introduction to a new year. if students do not like this title, they could use leftover letter stickers from October...or purchase new ones on their own....or their own special word.
this layout has a hidden pocket.
both layouts involve stitching. this time using the We Are Memory Keepers Sew Easy tool. an affordable option for crafters who love the look of stitching, but don't want to spend a lot of money. you could buy ALL the tools for the Sew Easy, and it is still cheaper than a cheap sewing machine. honestly, you don't need ALL the stitching heads either. each head is versatile and can create a minimum of 3 different stitches. lots of value.
the ladies will probably recognize bits and pieces of layouts from the past year on these final 2 layouts. same techniques, new design.
one change for this class is that we couldn't have it on the last Thursday or Saturday of the month. so we had to improvise with this one as well. i'm hoping that most of them were able to finish their unfinished layouts by that time. if they made it to every class, this would have been easy. i love to see their finished albums as much as they love to see their albums finished! :) there are a few Night Crops at Urban Scrapbook planned for this month too. maybe you can squeeze one or 2 of these into your schedule and finish off those layouts if you missed a class or 2. many of the layouts are still on display at the store, so that would help as well.
i think that covers it. i hope i didn't just succeed in confusing you even more! if you are a new scrapbooker or an experienced one that just wants a few hours a month to craft.....you are welcome to join! just don't wait too long to sign up, i would be sad you would miss out. bring a friend too! you will definitely make more friends, but it is always fun to have a good buddy to join you each month.
if you have questions, you can call Urban Scrapbook at 780.451.3459 or leave a comment here.
No comments:
Post a Comment
Thank you for taking the time to comment!