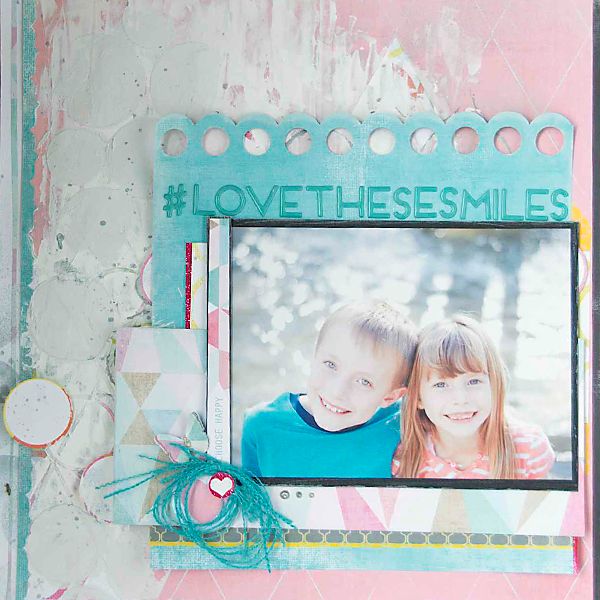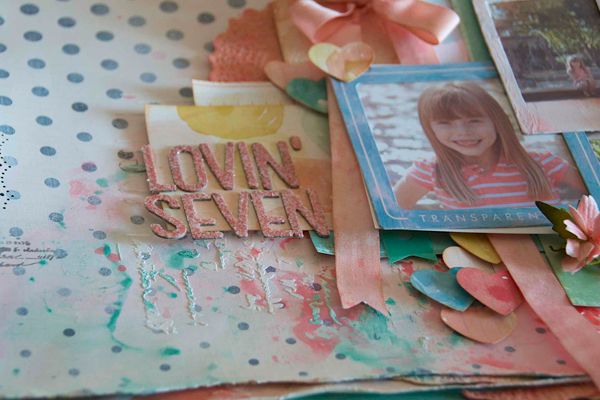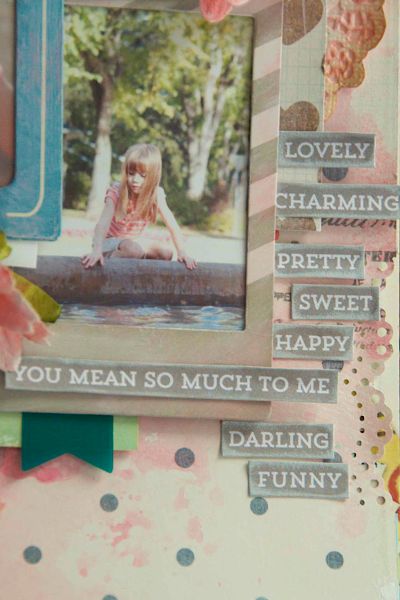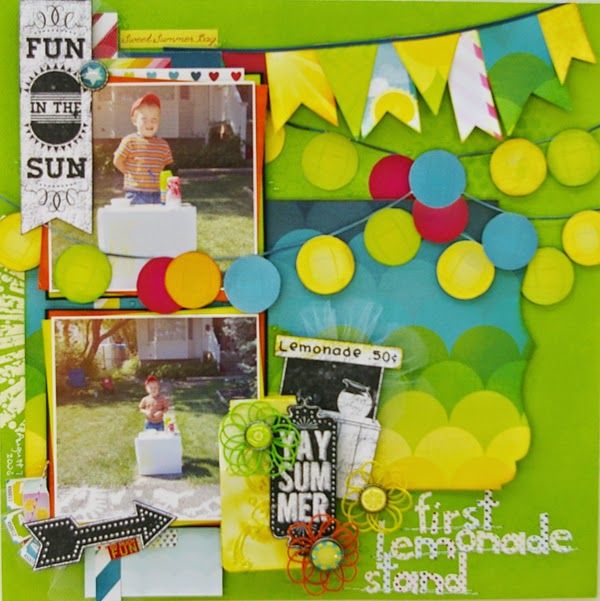
when i read the name of this paper . . . "Lemonade Stand" . . . i immediately remembered my little big boy asking to create his own lemonade stand. he was so excited! who could resist his sweet smile?!
it was the first of many summer lemonade stands for my kids. last year they held one at the same time we had a garage sale. i think the kids made the higher profits! homemade chocolate chip cookies, yummy rice crispy squares and ice cold lemonade were very appealing. one of their more recent lemonade stands involved a battery powered kids' Escalade...and they took their lemonade stand to the nearby playground! haha! the times are a'changing.
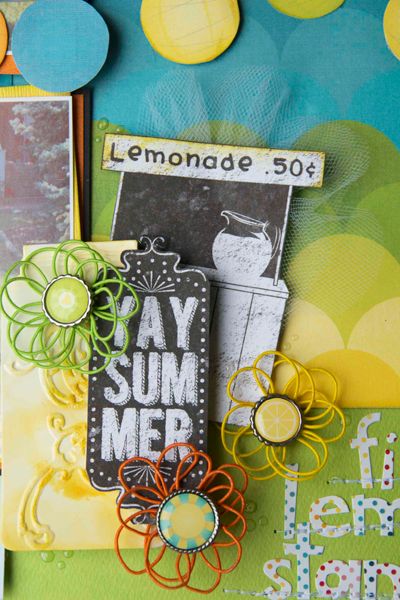
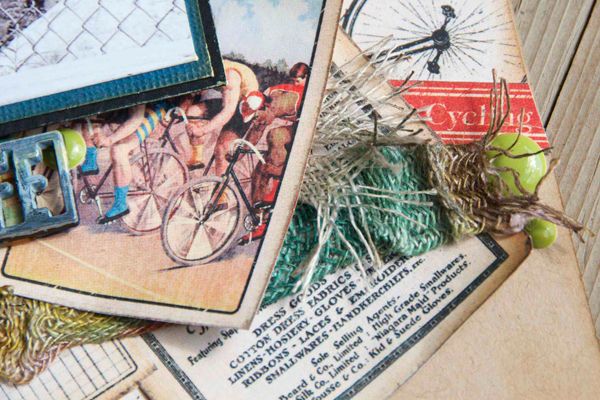
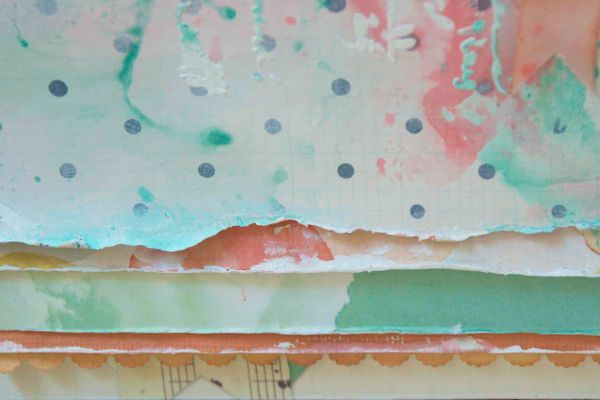
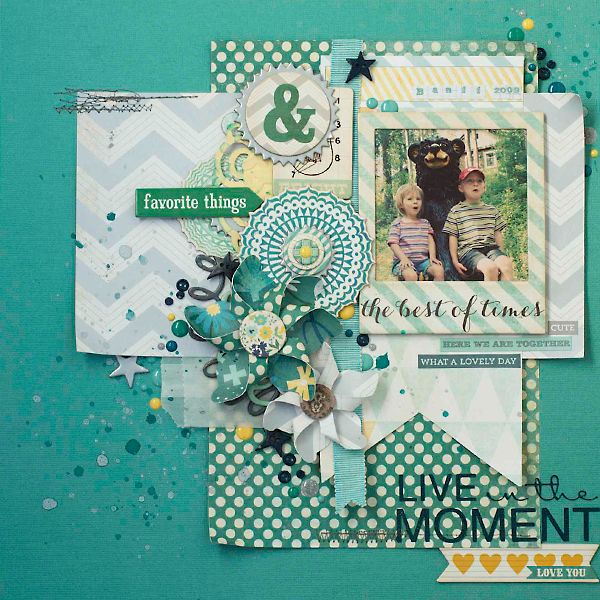
lots of bright colours in this kit! every one of the design team members took a unique spin on this kit.
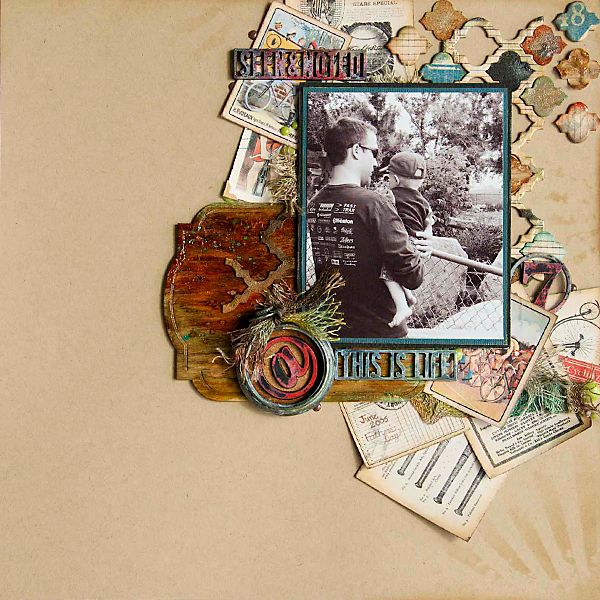
it is with sadness that this is my final layout as a member of the Urban Scrapbook Design Team. i loved my term with the store. if you have the time and the passion i would highly recommend that you pursue working with Urban.
this past year i have had to make some tough decisions. i loved the scrapbook design, my scrapbook classes and working in the store. it was a fun "job". my other passion has been the profession of Elementary Education. as i pondered about my options i realized that i didn't want to say "no" to any of them. i was passionate about it all. then i realized how lucky i was to be doing so many things i loved and how truly rare that was. as tempting as it was to continue to "do it all", i realistically knew that i could not. there is a season for everything. now is the time to put both feet back into the elementary classroom. i still have my scrapbook/art studio. right now it is being shared by my planning for my elementary classroom next year!