
i loved looking at the design team layouts again this month. it's so amazing how unique they each turn out. Jan shared that Pink Paislee posted the link to our layouts on their FaceBook page. i don't know if we have had that happen before. isn't that awesome?!

i decided to use this photo from Fort Edmonton Park. it was a garden in the Ottewell Homestead on 1885 street. they let Aidan and Kiara water part of it.
Fort Edmonton Park opens up again next weekend for the summer. i'm excited to go again this year. Kiara has a field trip there this month, and i'm hoping to be one of the parents to join them. one summer it would be fun for the three of us to volunteer as a family.
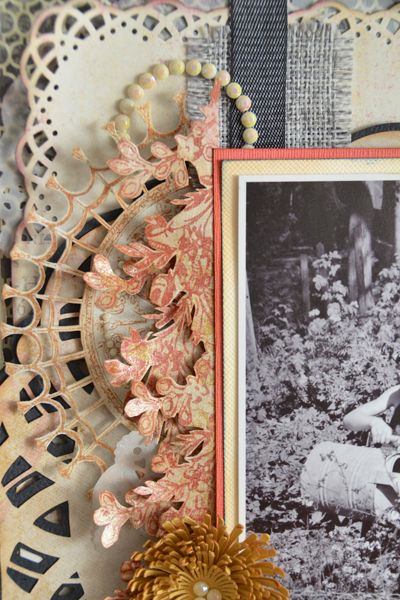
the doily under my photo is a cut file from the Silhouette Studio Store:

12x12 Background Circles
Design ID#40822
i used the one that is mint green coloured to cut the lighter coloured doily. then i used the external offset tool to cut out the one from the grey paper.
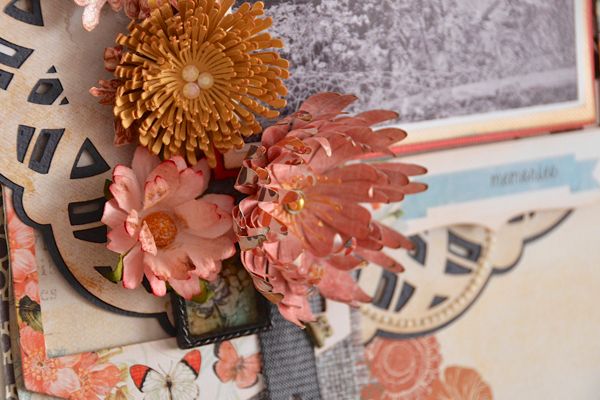
i think i decided to go with the Fort Edmonton picture because of the daisy that was included in the kit. it reminded me of the flowers in the garden. i added some more ink and clear rock candy crackle paint. then i found some 3D flowers in the Silhouette store that worked well.

Design ID # 16303

Silhouette Store: Layered Chrysanthemum
Design ID # 38039
using the same paper that my doily was cut from, i did just a bit of fussy cutting. yup. just a little bit. on the flower portion, i also added some clear rock candy crackle paint.
i got to use the prima gem crystals again too. they look great used in their original circle shape. but you can also cut out individual crystals too, just like the strips that are popular. i used a brad from my collection for the one flower, but i could have easily put it together like i did the yellow flower....using adhesive and then putting the crystals in the centre.
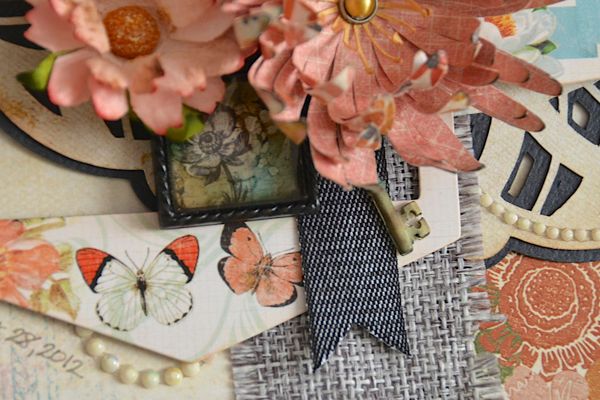
one of the items was a linen fabric flower from Maya Road. there were no roses in the photo and i didn't like how it was looking left as is. so i unrolled it and used the linen like ribbon. some of the girls left theirs as is....and others did some alterations to it. i love products that can be used in so many unique ways!
i loved the Prima trinkets on their own. but i decided to alter the colours with some alcohol inks. i used the same method i taught in a class last year. anyone of my students remember how we altered the acrylic frames and trinkets in July and September?! the quickest and most rewarding technique ever!! i'll have to use it again in one of my classes this year.
i am also in love with the decorative photo frames. they add lots of interest to a simple photo. but they area also great background detail too. again, love products with more than one option.
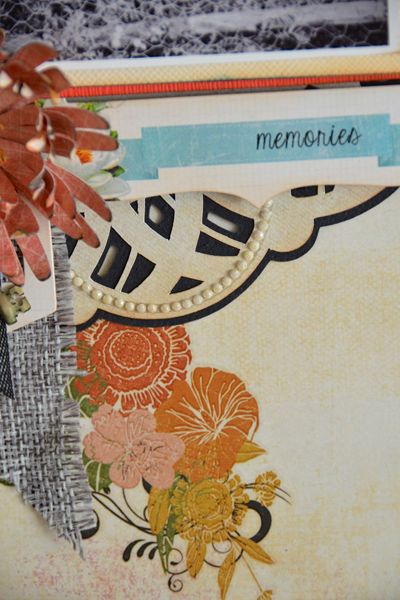
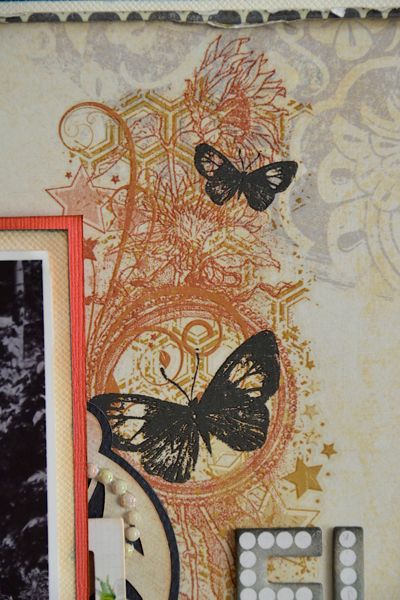
the detail in the rub-ons from Pink Paislee were spectacular. they were easy to apply and looked like they were a part of the paper. i had set my set aside because i knew i wanted them to be applied towards the end. then i found them as i was cleaning up! oh no!! i had to peel off my "F", but thankfully the dry adhesive had not set yet.
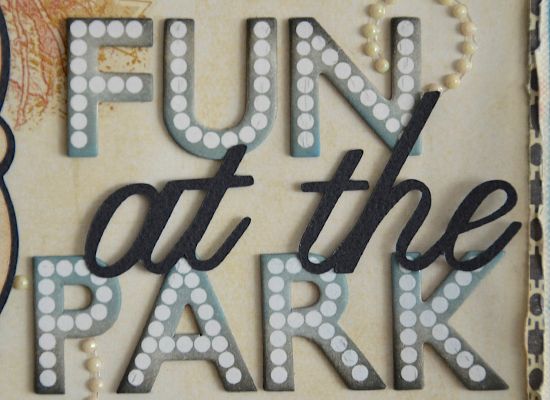
these letters are part of the Pink Paislee Heidi Swapp products. in the package they don't look special. but after using wet or dry inks, they come to life. i used Pumice Stone and Iced Spruce to get the two toned effect.
if you haven't already done so, check out the other pages on display in the store. if you are a last minute crafter and need to make a Mother's Day card before Sunday....there are a few examples of some different designs. Pat used the kit to create some cards.
No comments:
Post a Comment
Thank you for taking the time to comment!