up first is the rolled felt flower. these are awesome made from paper as well!

the very centre of this large flower is a felt rolled rose.
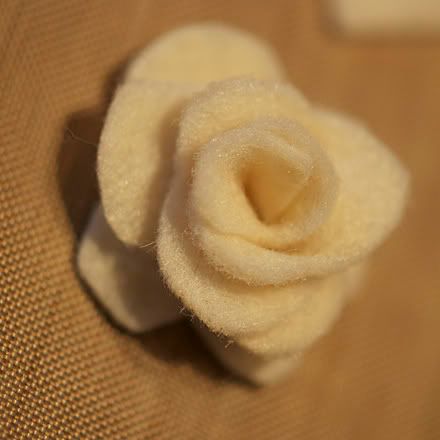
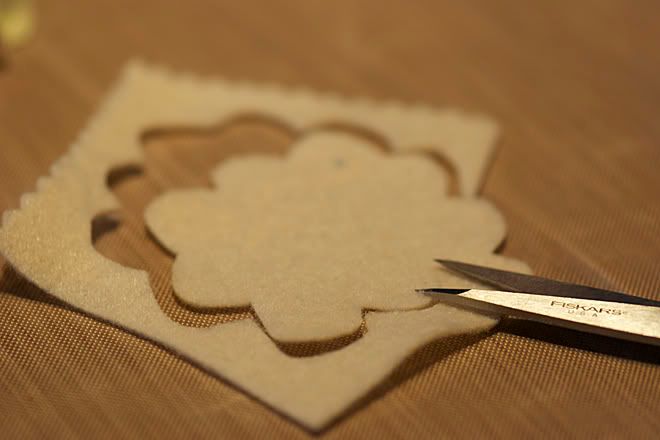
you can use a scrap piece of felt to begin. using your regular scissors, cut a scalloped flower shape.
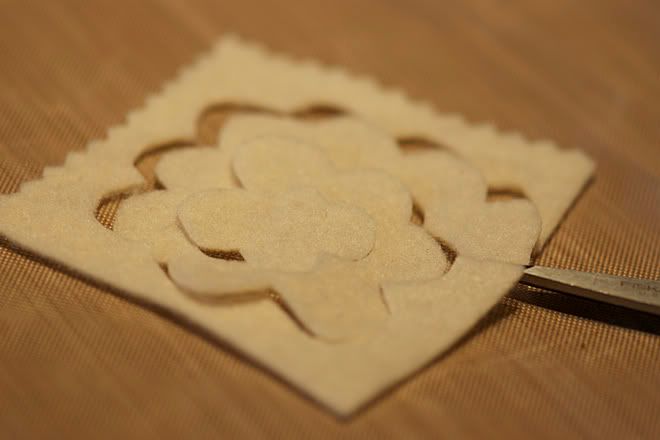
keep the scallop flower shape as you continue to cut into a spiral pattern to the middle. remember that the distance between your scallop spirals will determine the height of the rose. the longer of a spiral you cut will also make your rose more full in the end too!
then trim off the ugly straight edge. i made a little cut right where my scissors are in the above photo.
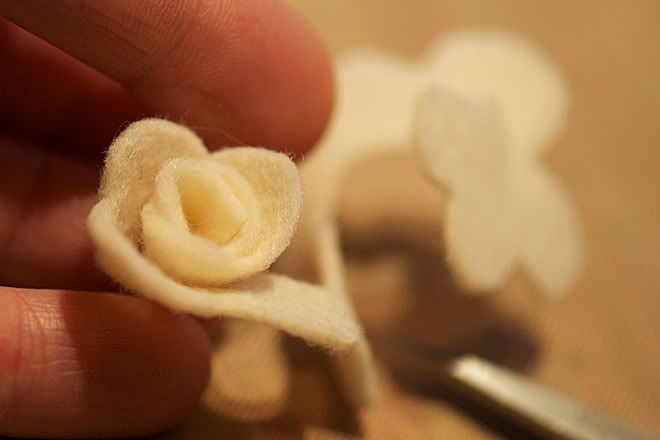
starting from that outside edge you just trimmed, roll along the spiral. the outer edge becomes the inner part of the rose. you can see the centre of the felt in the background.
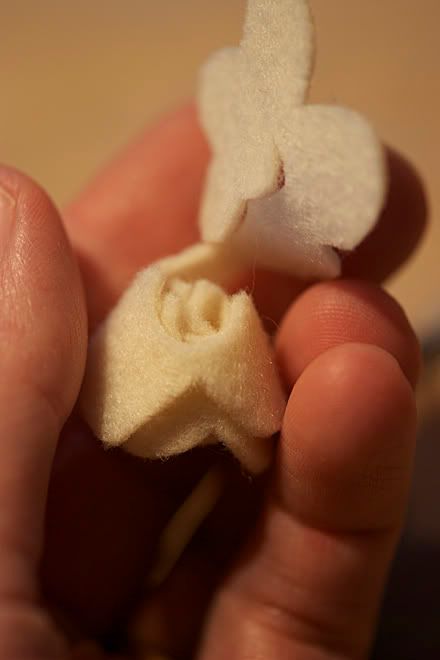
don't worry how the inside edges look because you won't see them. just be sure to keep the outside petals fairly even and neat.
the little flap at the top of the photo? add some good glue and it will become the base of the rose. it holds the petals together and makes it easier to adhere to your layout or card.
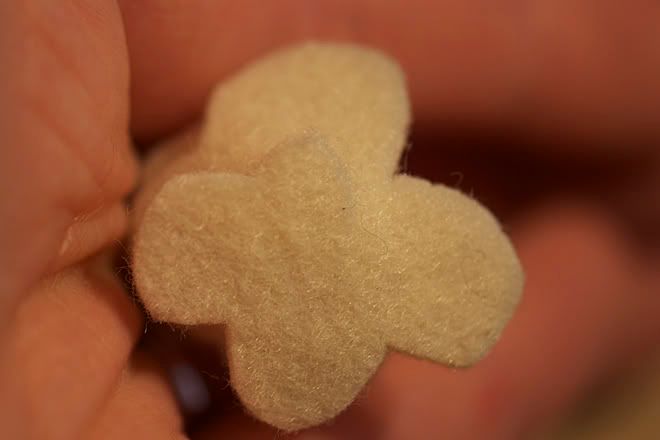
this is the base. it used to be the centre of that spiral.

voila!
you can also sneak in some glue (liquid) between the petals if you find the rose is too loose.
this is a great way to use scraps of paper. you can sand or ink the petal edges. use decorative edge scissors. add glitter.
Betsy Veldman shared a neat twist on this a few days ago. i like how they turned out too! not a bad option if you have to make hundreds of them. she used a needle and thread...which you could also do with the roses i shared with you. not speaking from experience of making Betsy's roses....but i think a strong adhesive could totally work on her method too. it's worth a try.
oh! i've also seen them made from the pre-made felt flowers....like the ones Making Memories sell.
up next:
Crepe Paper Roses
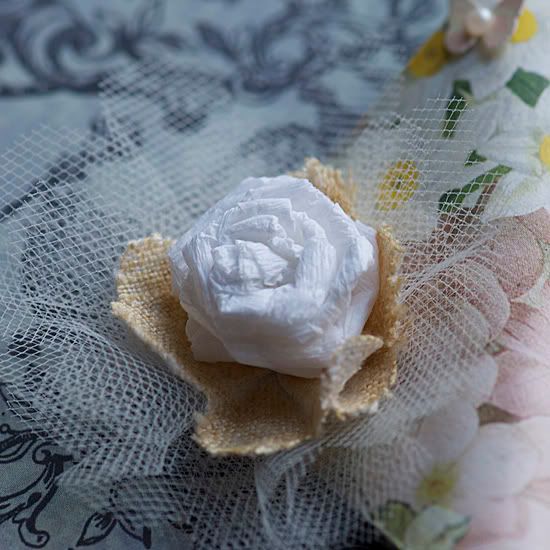
this is a tiny one. only need about 12 inches of crepe paper. but they can be made as large as you want!
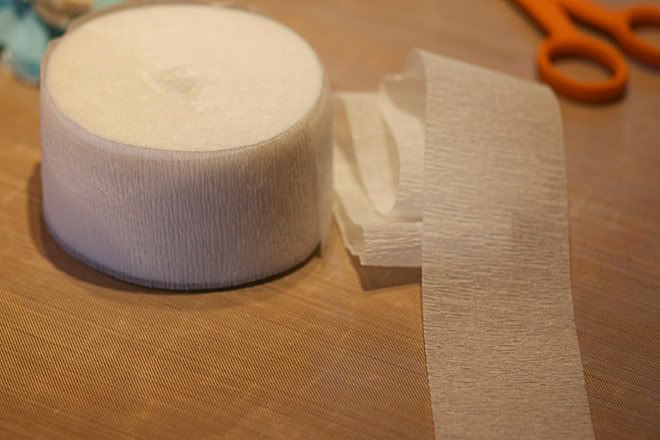
any dollar store should sell them. i use them for birthdays. when i was growing up in the '80s every grad had rolls of them looped across the ceiling and down the walls. to an 8 year old, it was like magic! when i was 17, we decorated our gym for the upcoming graduation. it took a minimum of 2 weeks to hang all of them. after school. before school. sometimes we even got permission (yes we did!) to do it during classes.
anyways...on with the tutorial!
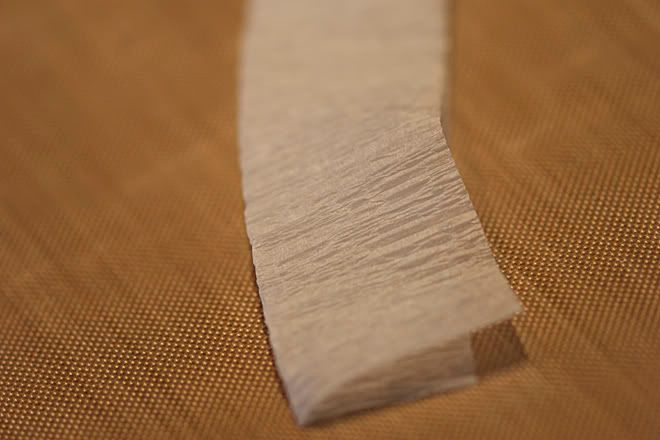
fold it in half, lengthwise.
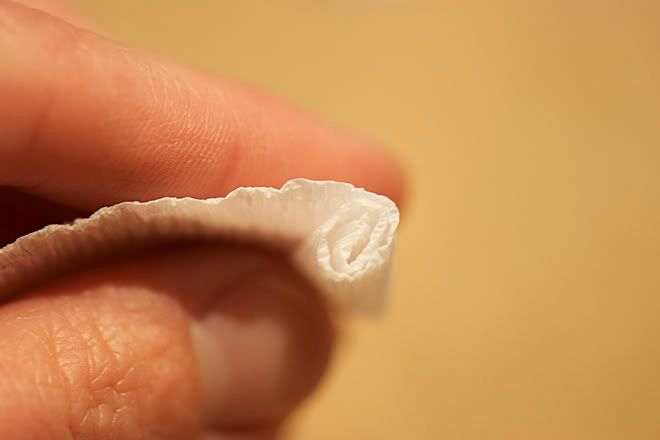
roll along the short edge about 3 or 4 times.
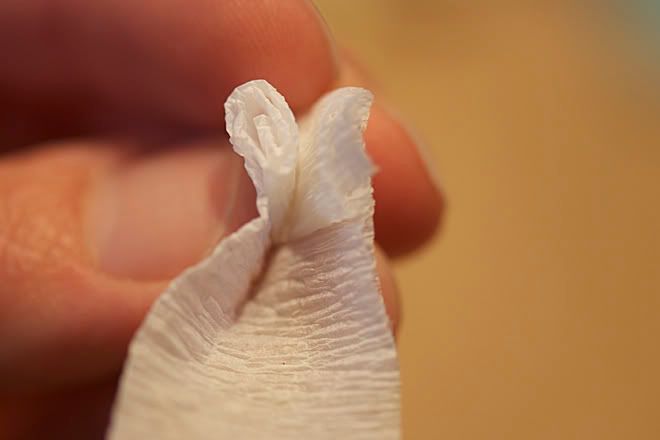
you don't have to do this step. since the rose is going on a layout, i wanted it to be shorter.
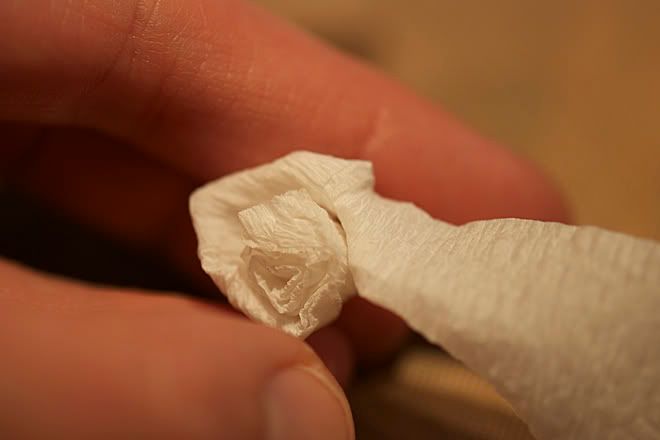
basically, you continue to roll along the short edge of the paper. each quarter turn, give the paper a twist. it lightly folds the paper to create each rose petal.
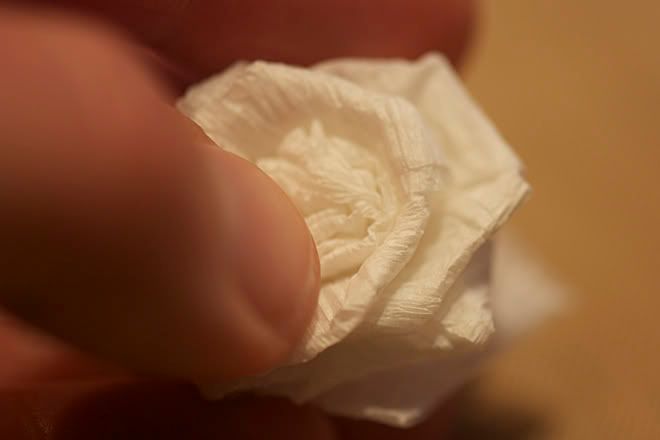
as you go, the rose will become more apparent. one trick is to keep it loose. if it starts to get too tight, it looks more like rolled crepe paper! although that is another cute look as well.
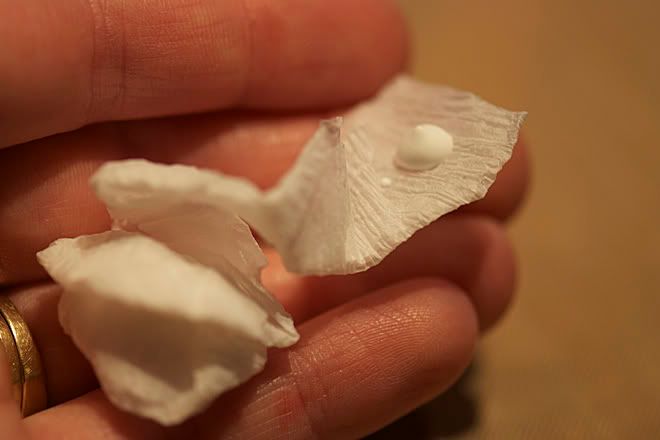
i add some glue to the last portion and it becomes the base for the rose. often i find i have to add more dabs of glue between petals. although it does hold its shape rather well.
this is one of those techniques that doesn't always work well the first time. don't sweat it if it takes some practice. give yourself a break!
here is a video that Danielle Flanders made. she added another tip to a finished rose that you might like.
i've also seen this same technique done with ribbon to make ribbon roses. amazing!
these techniques have been around for awhile. i'm so happy that they have reached the scrap book community because they are a lovely touch to layouts or cards or gifts! within a few minutes you will find several tutorials from sites like YouTube. there are A LOT of them!

No comments:
Post a Comment
Thank you for taking the time to comment!