
here is the tutorial!
the easiest method is to have a full sheet of paper and just print, then trim.
sometimes you have the perfect shade of green....just in the perfect sized scrap for your page.
or sometimes you have a super cute journaling card!
if it is the last two possibilities, then this should help you out.

first, measure the size of paper that you are working with.
using your typing program of choice, type out your journaling. adjust the margins. it is better if you make them a tiny bit smaller than the actual sheet you are printing onto. something i have learned the hard way!
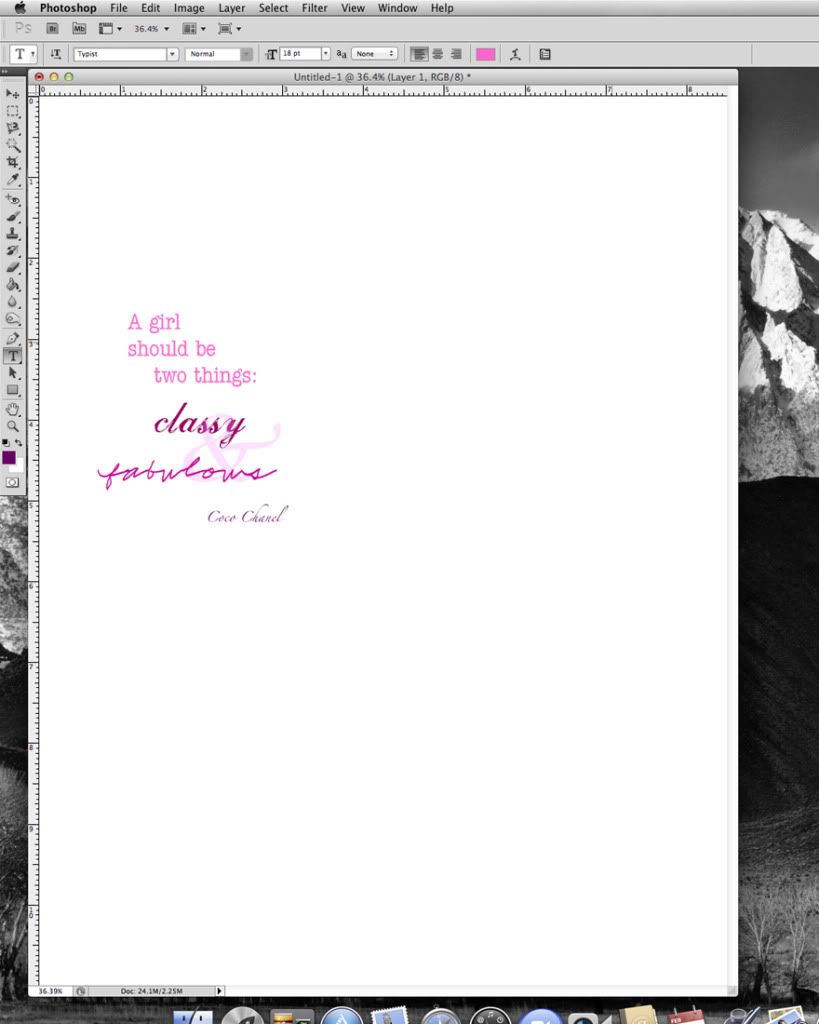
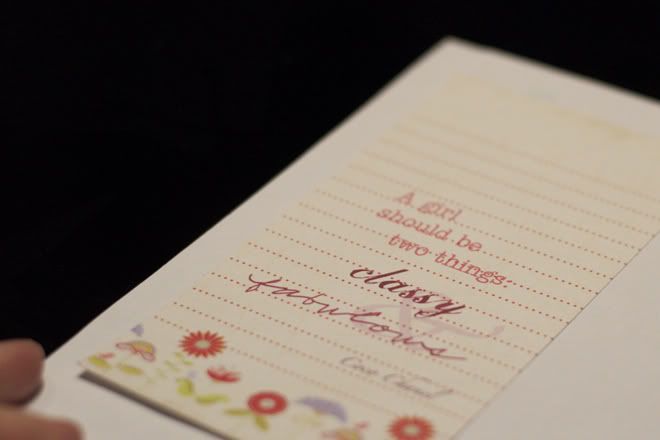
if i want to type out a quote or poem, i will sometimes use my photo editing program. which is what i did here.
if i wanted to get my quote to be PERFECT. if i am trying to squeeze in a lot of info around graphics or pre printed lines...i could have scanned the image into photoshop...made it one of my layers...typed over top of it...deleted the scanned image layer...and just have the typing left. this specific step would also be the most complicated. not where a beginner wants to start.
you could also work on this part in a typing/word program. adjusting the font sizes and spaces. set your view to 100% and hold up the "good" paper to your computer screen.
both of these picky methods are time-consuming. but worth it if you have to make multiple prints or want it to look professional.
now you have typed up your journaling or quote. print it out on regular printer paper.
pay attention to HOW your paper is moving through your printer. each printer is unique in how it retrieves your paper from the tray and prints on it. i will make an arrow and write on the printer paper. something like: 'place upside down' or 'this end goes first'. whatever helps.
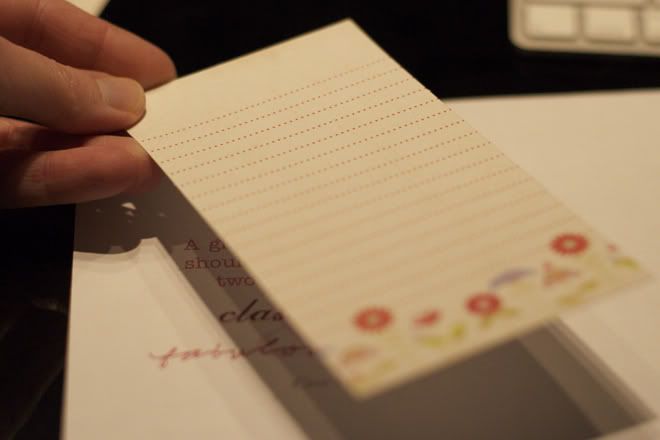
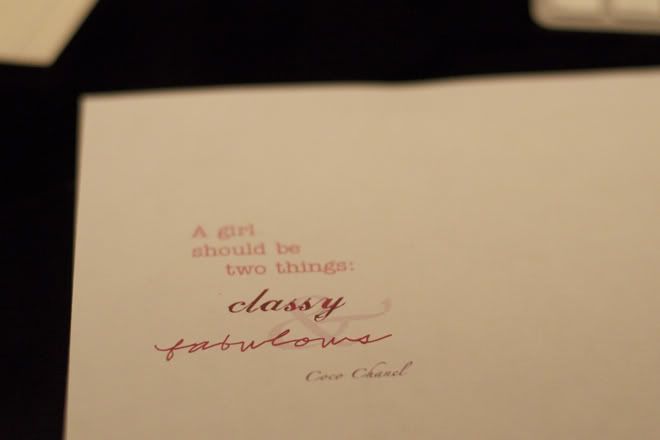
this can be a happy step or a depressing one....check that your margins were accurate. when you lay your paper over the printing...you should not see any of it peeking from under the "good" piece of paper.
like this.
vellum is easy for this step because it is transparent!

sometimes holding the papers up to a bright light also help.
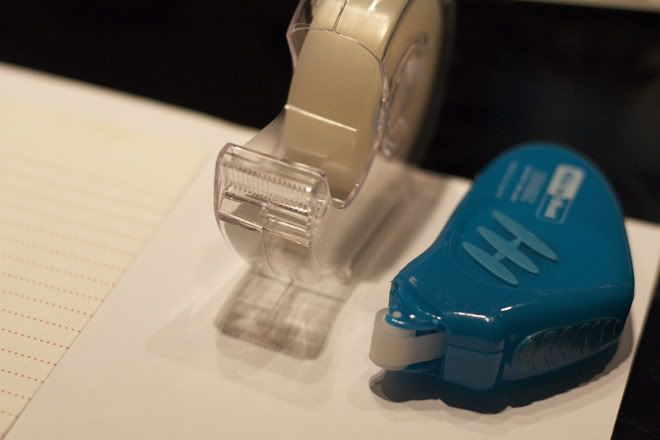
once you have the print out and the "good" paper arranged how you like it, you now need to secure your "good" paper to the printing paper.
scotch tape works great. sometimes it does remove a bit of the paper, so it is not always the best choice.
double-sided adhesive that is not a bear to remove is a great choice for paper you don't want to risk damage.
i only put the adhesive at the top portion. this part will get the most "abuse" from your printer as it is fed into the spool first.
put it into your paper tray. be sure to have it placed so that it prints on your paper correctly! i mentioned this in one of the initial steps.
print out the image again.
note, however, that you may need to adjust your print settings.
some printers will distribute a specific amount of ink for the type of paper being printed. check your manual if you aren't sure what to request, or where you request this! i can choose to print on glossy photo paper or non-glossy photo paper....and there is a difference in the quality. i can also choose to print on non-glossy presentation paper. which is what i used for this heavy cardstock to maintain the crisp print.
there it is!
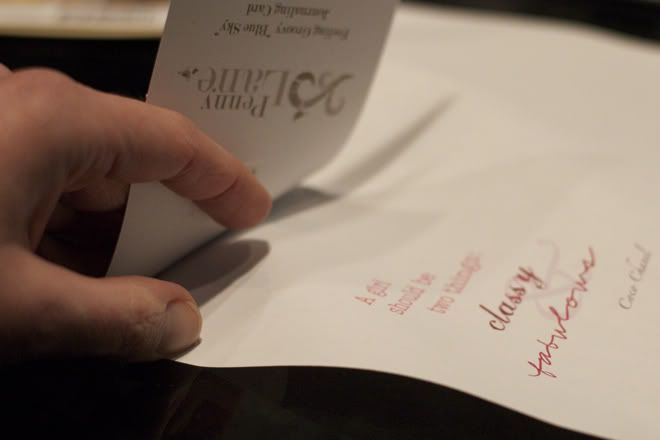
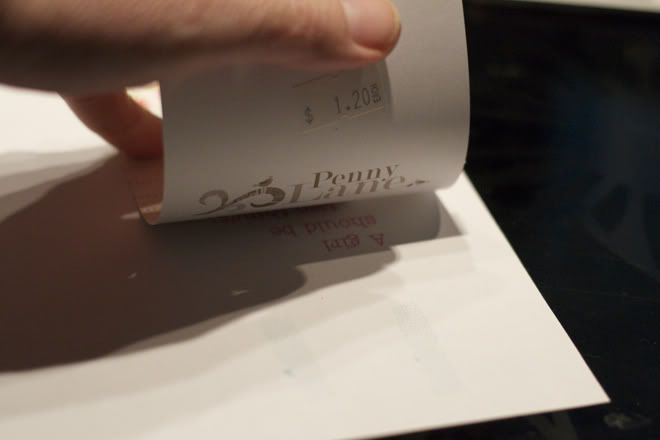
carefully separate the papers.
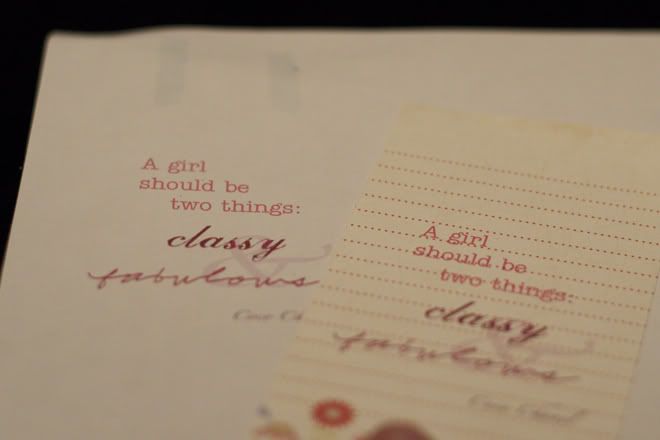
you can see my original copy. and the "good" copy.
isn't that sweet?!!
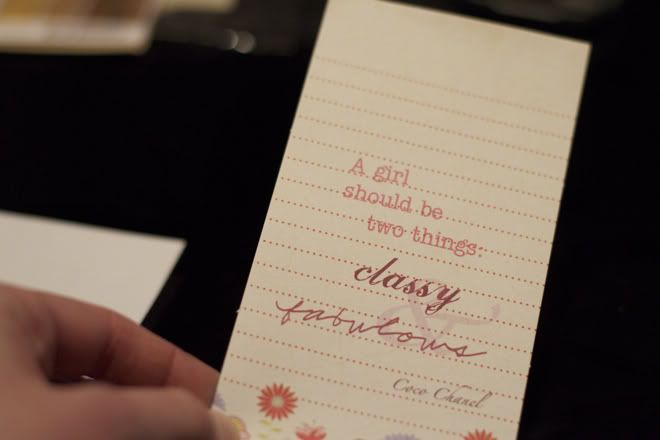
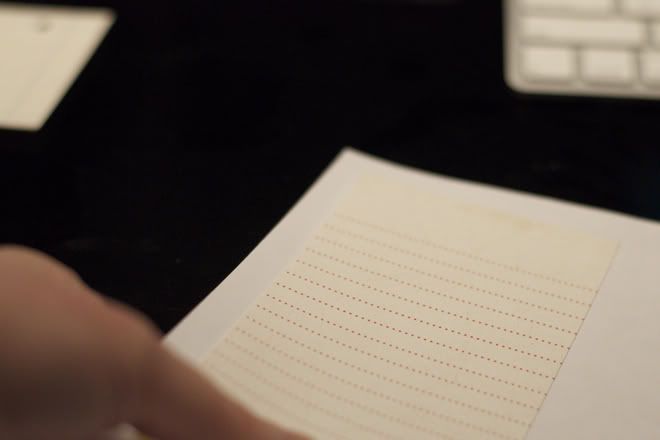
you can see that if i spent more time being picky about the pre-printed journaling lines, i could have arranged my typing to fit perfectly. this doesn't bug me, so i didn't fuss with it.
i hope that encourages you to try printing out your journaling on to those special cards that you have been scared to write on by hand.
when i put together my Baby's First Year scrapbooks for my kids, almost all of my journaling was printed this way. i set up each page by the month, and had a lot to say! this helped me keep my journaling as long as possible, looking good and still looked great with the page design.
good luck!
Great tutorial...love it when it works out! Do you use CS5? Aperature? Iphoto?
ReplyDeleteI use CS5 and PSE to do my typing. I prefer it over my word program because I have more flexibility when it comes to fonts, sizing and overlays. Sometimes I will bring in a digital stamp or brush to add extra detail to my journaling or title. I suppose Word or Pages could do similar...just have never taken the time to figure out how!
ReplyDeleteI just started using Aperture...I have too many photos for iPhoto now. And I am almost fully clueless as to how to use Aperture at the moment! I can retrieve my photos, and that is about it.