
this is the last set of videos. i sure learned a lot through this process. amazing how large my fingers look while working with these tiny flowers! ha!!
i have enjoyed making a few of the flowers from the tutorials i found on the Moments of Tranquilty blog (Natasha Naranjo Aguirre). these flowers are not exactly like the ones she has explained, but were definitely inspired from her style. if you have not seen her blog yet, you will be so impressed!
here is the completed double page layout. most of the roses are on the second page.
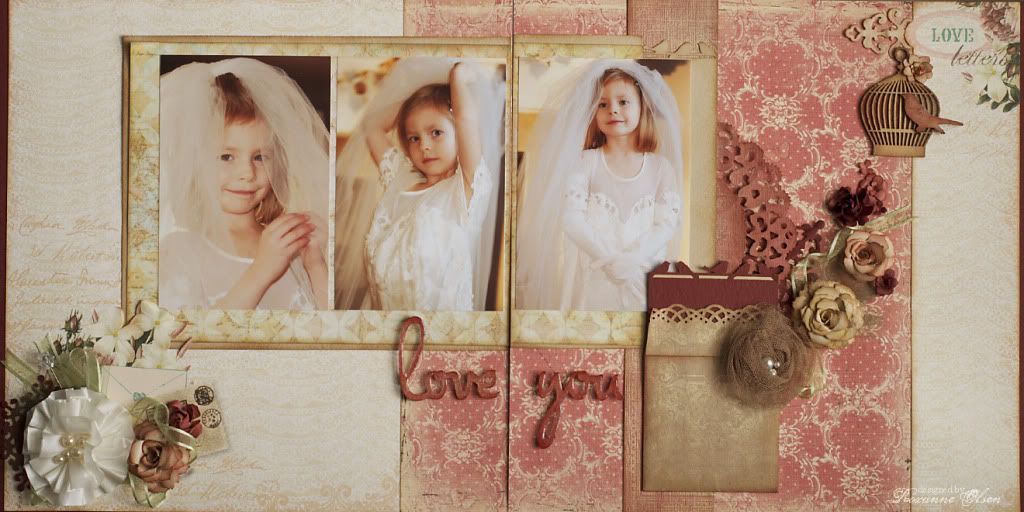
the first video is making the rosebuds. i had two of these on my layout. one was made from the dark red cardstock and the other was from the pink cardstock.
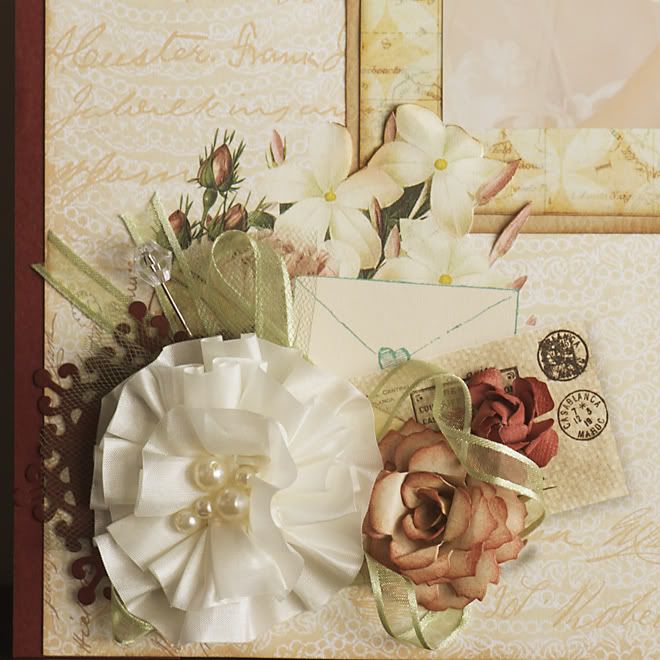
right beside the satin lace flower and the red/flower paper rose, you will adhere the pink rosebud.
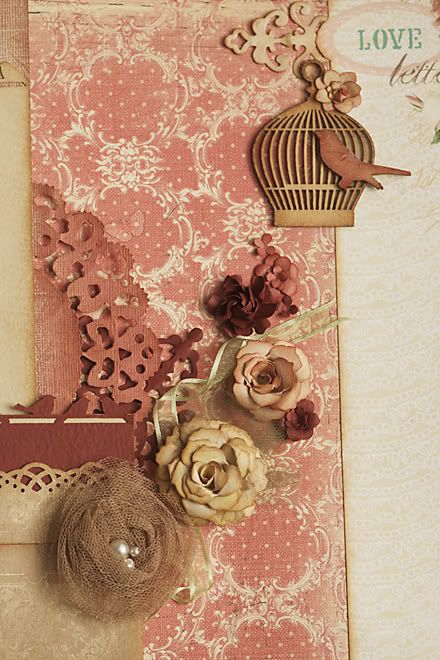
the red rosebud is between the birdcage and the smaller red/flower paper rose.
here is the second video demonstrating how to make the tiniest of the flowers.
all of the tiny flowers will be mixed in among the roses on the second page. the patterned paper flower is at the top of the birdcage and the others are mixed among the roses. remember that you have been given extra flowers...just in case! you may decide to add in extra. if you have flower punches at home, go ahead and create more flowers from the extra paper in your kits!
the final video. i was going to say the final rose....but that has too much of The Bachelor ring to it!
Glubers are so convenient. you could improvise with glue dots, but these are so handy. i love that i can adjust my fabric if needed.

and that is the end! one note that i did not make in the video...i found the Glubers did not stick easily to my paper. not sure why that was! i had to add some glossy accents and that did the trick to keep them where i wanted them.
the tulle was trimmed fairly short and tucked in behind a few roses.
the green ribbon was also cut into shorter lengths and placed behind the roses. cut a few straight pieces. make loops with some. create a few curls with others. i have found that glue dots work really well with this type of ribbon. i will attach it to the end, then use my finger or a handy tool to secure it to the paper.
later this week i will be giving a sneak peak of the demo for Urban Scrapbook next week. i do believe i am ready for a mini break from flowers. i can guarantee you that the next demo will have other fun supplies and not require anything fussy to be involved!
No comments:
Post a Comment
Thank you for taking the time to comment!