last spring Kiara wanted me to take some photos of her with her new umbrella. she had on a cute dress. but then she threw on her pink winter hat....because she wanted to!
when i saw the papers for this months' kit i thought of those undocumented photos of her. and the Coco Channel phrase came to my mind!
"a girl should be two things"
classy
&
fabulous"
yup. that's my girl!
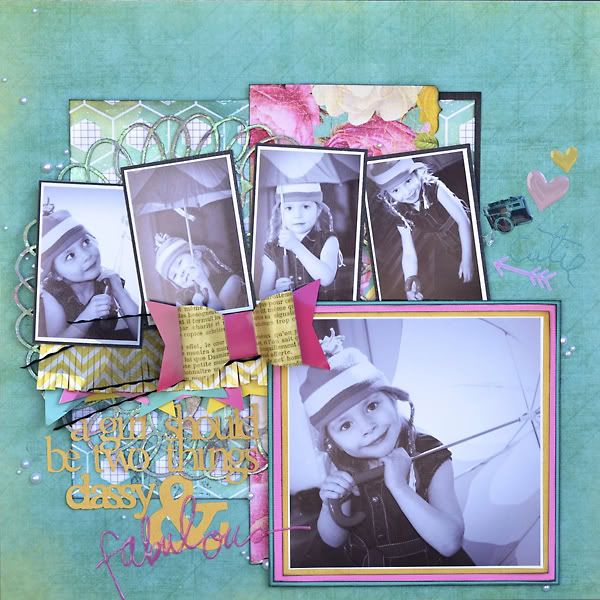
with the bright colours of the papers and the bright colours in my photos, it was a bit too much. since the photos depicted "fabulous" rather well already...i figured changing them to black and white would bring in the "classy".
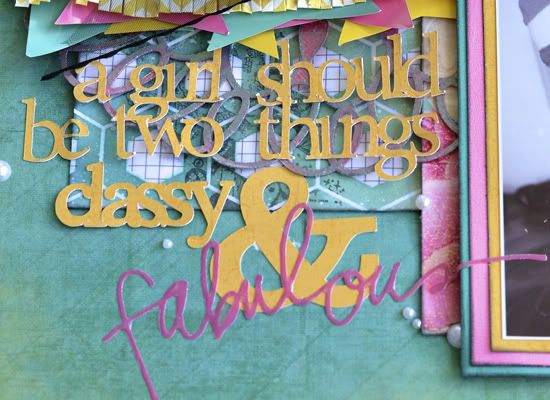
i cut the title using my Cameo.
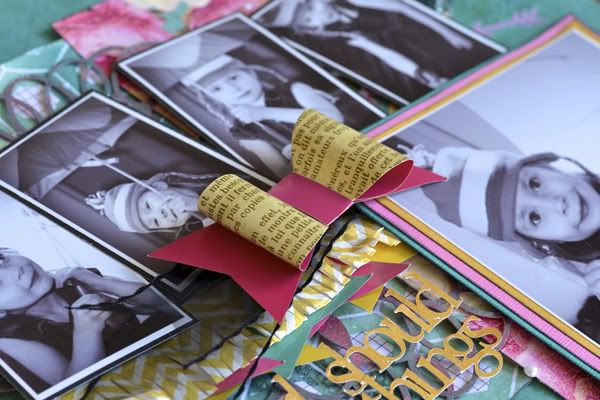
the package of FOUR bows were included in the kit and the unspoken challenge was to use ALL of them on our layouts. remarkably a number of us managed to pull it off. each in our unique way. i sliced off the "v" ends from all but one bow and then placed them under my fringe.
if you pulled off the centre piece the bow came apart very easily. it has a unique design that i thought would make a great pattern for my Cameo design program. i think it would be fun to make some bows like this for birthday presents. just bigger!
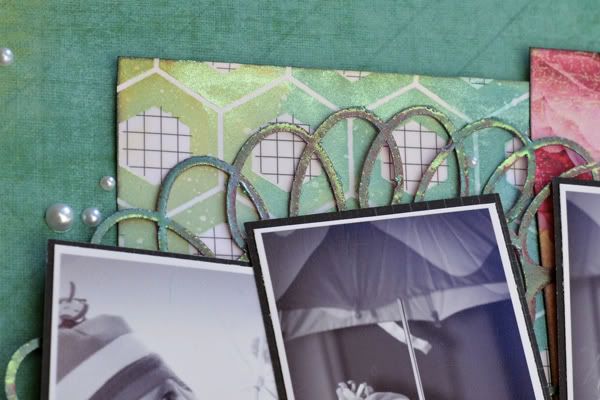
i LOVE LOVE LOVE the mistable papers. they are very thick and can handle a lot of liquid. i decided to paint my mist on, rather than spray it. this technique gave me more control with the colours as i was able to mix them too.
i cut the a large doily shape with my Cameo using a design file and the pink cardstock.
then i embossed it with the new Lindy's Stamp Gang Embossing Powder (desert moon turquoise). it is a a dual-toned fine powder. you don't need to use versa mark ink or any ink to prep the surface for melting --- unless you want a stamped image! i figured i could do the same thing with my other powders, so i tested my theory. my theory failed. the powder did melt, just not as nice as Lindy's. due to the small surface of my doily, i did need to use some versa mark to keep it from flying around.
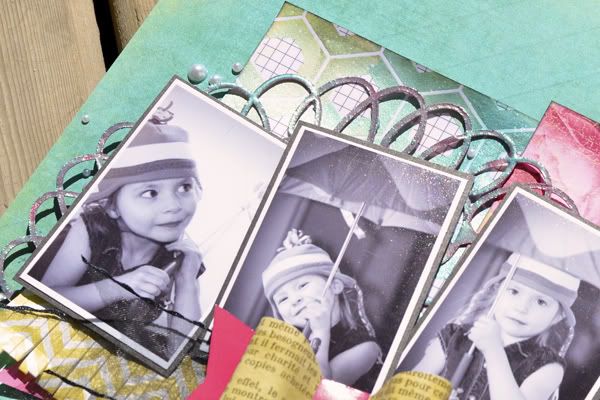
i'm including two pictures of this portion of my layout. just to share a bit of the colours of the embossing powder. i really like the combination of colours between the powder and the pink paper. i should add that i did not do a perfect coating. some parts were thicker than others. with embossing powder, you can layer it just as you would paint.


No comments:
Post a Comment
Thank you for taking the time to comment!