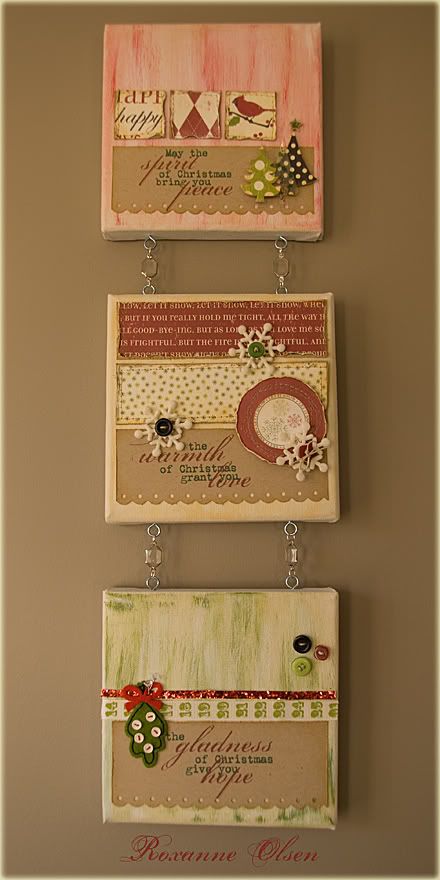
less because of the canvas...and more because it was featured on the Making Memories blog today!!
i am still in a bit of shock. only because i have a lot of respect for this company. a lot of their products have been in my first scrapbook pages, and the ones i have created recently. seriously, have you checked out the Mistletoe collection? i also loved how their Vintage Findings are truly vintage and can work with any of their collections. can you tell i am just a bit of a fan?!
the basic instructions are posted on the MM blog. here are more detailed ones, with photos.
i used 3 8x8 canvases, 8 eyelets (like you would use on a frame, can can get a package of these at the dollar store), 8 large jump rings and 4 glass links (from the jewelry section).
i also used acrylic paint (i chose 3 colours, but just one would work too), with water, paper towel and a foam brush.
Antique Linen distress ink with water and a foam brush.
i used a 12x12 sheet of kraft cardstock. i did have to cut it down to letter size so that it could go through my printer.
and lots of MM products!! an assortment of their Mistletoe papers (they're double-sided, so i did use both sides of some of them), the box of trims and treats (had ribbon, buttons, gems, clear glitter die-cuts, and those lovely felt snowflakes!), and dimensional stickers. also a few gem pins from Vintage Findings.
here we go with the detailed steps:
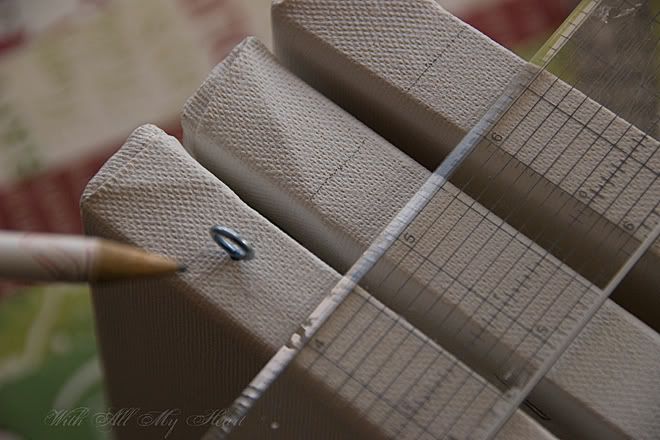
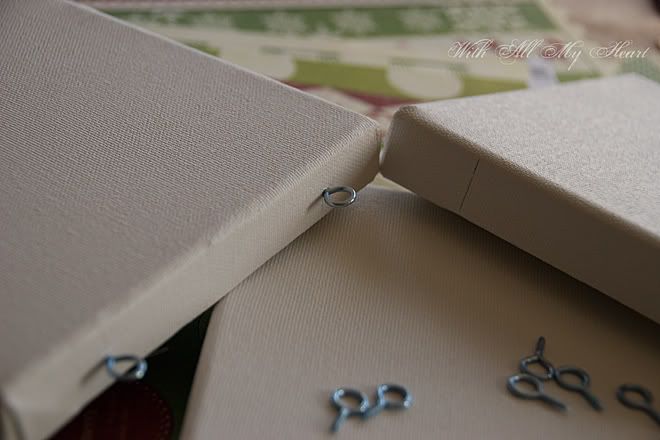
screw in the eyelets. 2 of the canvases will only need one side to be done (top and bottom). one of the canvases (middle) will need to have eyelets on both ends. i started with one canvas, then used my ruler to mark the spots on the other two.
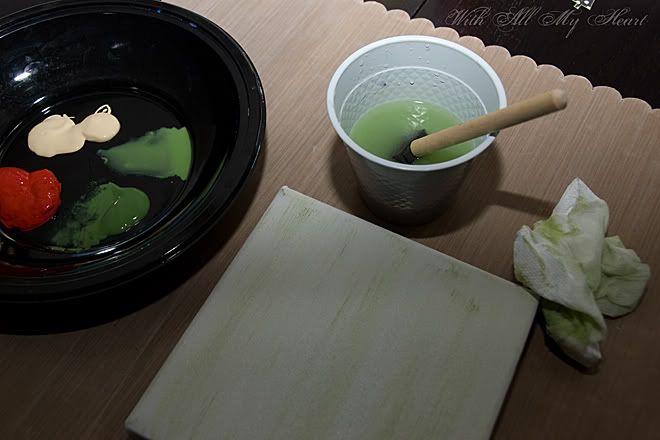
i was really inspired by the "plain" side of the "Big Dot" paper. i decided to paint the canvases to get the worn paint look. i chose to go quite light, but i did think about using a crackle effect too.
i chose green, red and cream acrylic paints. i used a combination of a dry brush and some watered down paint too. if it got too heavy, i wiped it away with a ball of paper towel. thankfully this paint does not dry quickly, so you have lots of time to fix anything you don't like. it was fun because it wasn't something that needed to be perfect.
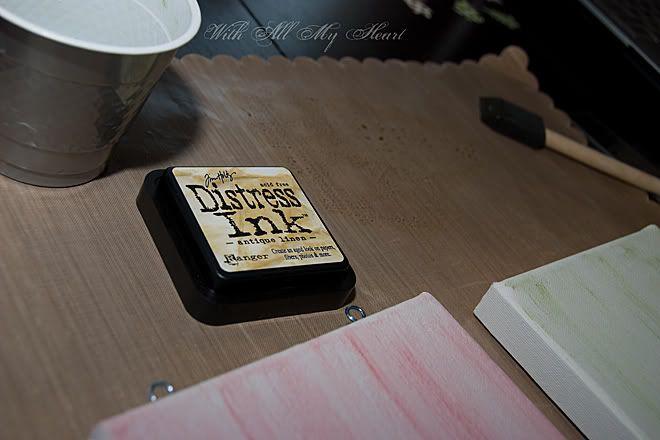
after the paint had dried i used some distress ink and water on top of the canvas. it just added some antique-ness. (made that word up!) i also used a foam make-up sponge on some edges to darken it even more. again, lots of ways to do this. just have fun! (yes, i said that twice. it is important!!)
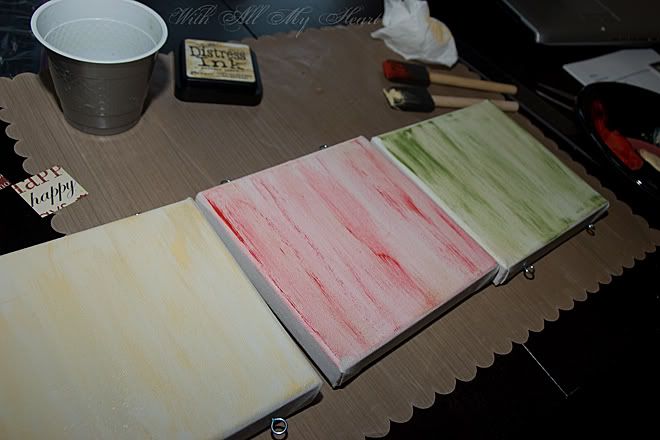
here they are all lined up. as a final step, i went in again with some paint on a dry brush. i decided i neededs some darker spots! i also went in with some gesso to lighten other areas. (white acrylic paint will do the same thing)
using Adobe PSE i typed out a Christmas poem, then printed it on the kraft cardstock.
i trimmed it into 3 fairly equal rectangles. (if you want to print it out, clicking on the image above should allow you to do it.) any edge punch of your preference adds some nice detail.
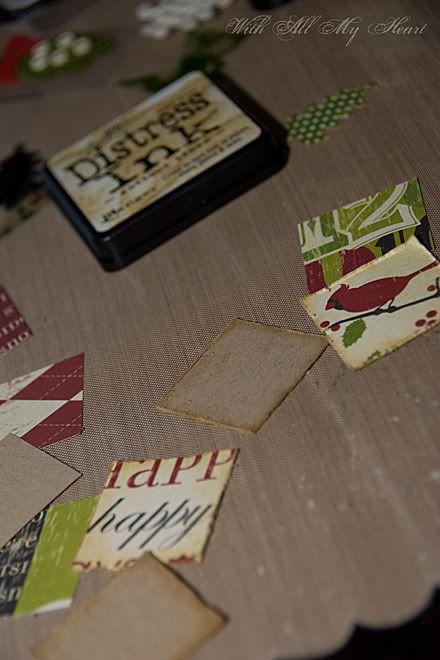
i decided to decorate each canvas a little differently. 2 of them have this technique:
cut out equal sizes of kraft cardstock and the MM Mistletoe paper. (i used a square paper punch on one, and on the other i just measured with my paper trimmer) use Making Memories edge distresser and then some ink on the edges. then sew a straight stitch using your machine! you could also use MM paper piercer and stitch by hand too. after the 2 pieces are sewn together, use your bone folder or stylus or fingernail to roughen the edges even more.
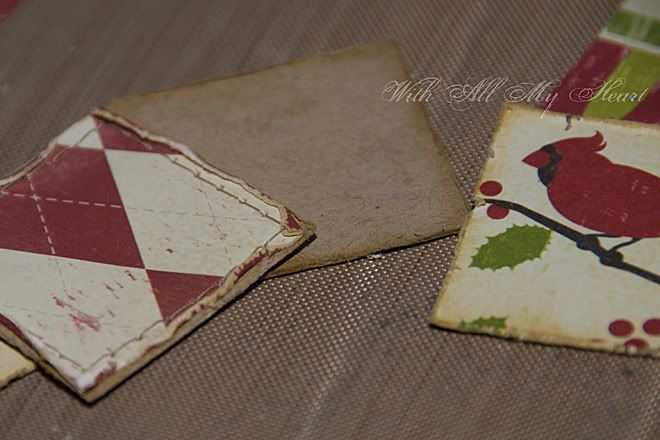
you can see in the finished square the roughed edges. i liked the worn look with these papers!
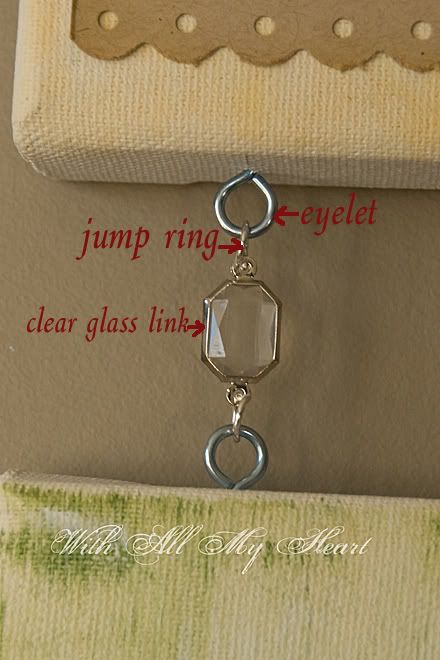
after the canvases were fully decorated, then i connected them with the jump rings and glass links. use small jewelry pliers for this.
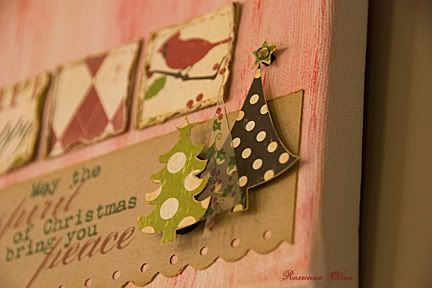
here is a close up. i didn't take the backing off of the adhesive glitter die-cut tree. instead i glued it to the green tree! i REALLY loved the "Tree" paper. i lost count of how many trees i cut out individually. very relaxing to do in front of the television one evening. i added a gem to the top of the one tree.
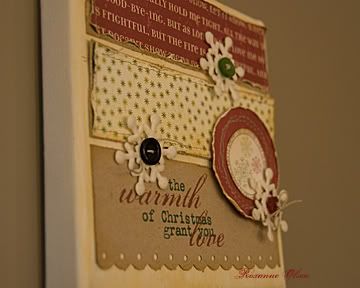
i need more of these snowflakes. they are so adorable!!! i want a package of just a hundred little white felt snowflakes. of course i'll use some and hoard the rest for next year, and the year after that, and the year after that....they won't go out of style!
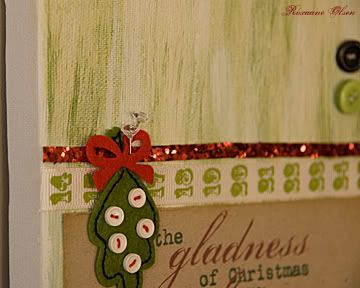
in the end, i added a couple of the gem pins from the Vintage Findings collection. are they not adorable too. they do come in their own package, and i may need to buy more of these. yes i am totally serious!
thanks Making Memories for making my year! this was like the Christmas present that no one could have afforded to buy me. yes, i'm still doing the happy dance. thanks for letting me share my little idea from my scrapbooking world.


Hi! I had to visit after seeing your project on the MM website - love this! Thanks so much for the inspiration - you make it look easy. Christmas is just around the corner, and I have to get busy :)
ReplyDeletecongrats on being featured on the MM blog. this is a gorgeous canvas project ... love how it turned out :)
ReplyDeleteCongrats on the feature!!! I love your stuff! I just jumped over from SIS to say hi!
ReplyDeleteThank you for your lovely comments!
ReplyDeleteHuge congrats to you! This is an awesome project and I also adore those diamond stick pins from MM!
ReplyDeleteSuch a cute project - I may have to do this one!!