i am thinking of doing a tutorial on the album as well. i just have to finish up some baking and Christmas stuff around the house that i've put off for far too long!
it really is a simple album to put together. i did have to figure out a few measurements before i started. for instance, i wanted to have square pages, close to 6x6. then i had to figure out the measurements for the cover. that is where i got my 6x12 size...then just worked backwards from there.
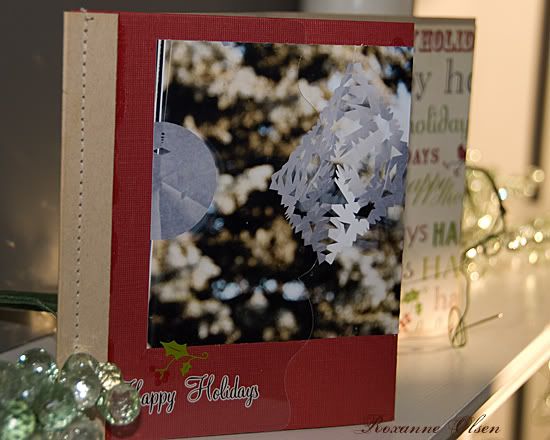
this might give you a better view of the front when the cover is open. i think you could get away with using cardstock without the double fold. however, if you have some gorgeous patterned paper that is on the lightweight side....it would be amazing folded over!
i added the acrylic journal pages after the album was assembled. some clear glue on the edge of the journal sheet, then slipped into the spine....voila! learn from me, add the inside acrylic page first. you can see i put on a bit too much glue initially when i started with the top acrylic page!!
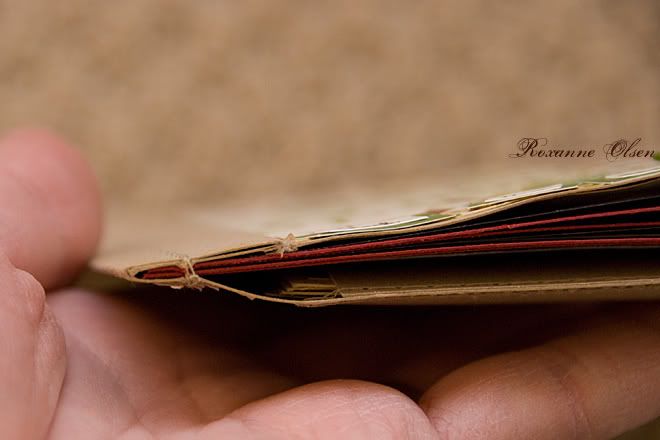
i think that perhaps the spine is the most confusuing to understand. here you can see how i stitched it. it also gives you an idea of the bulk of the album. {already the corners of the cover are getting use! maybe a photo corner or a strip of ribbon would help reinforce this well-used edge.}
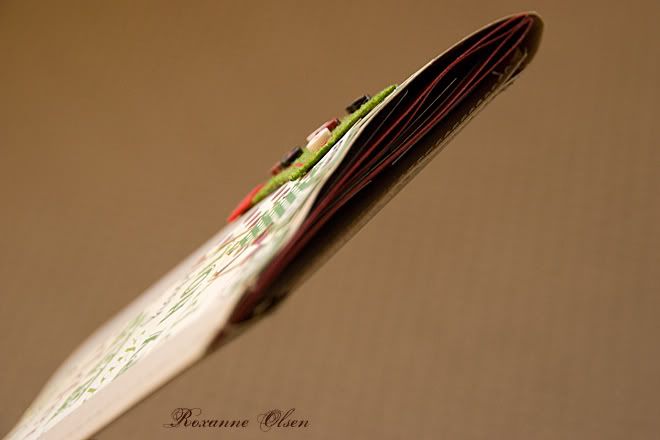
another angle.
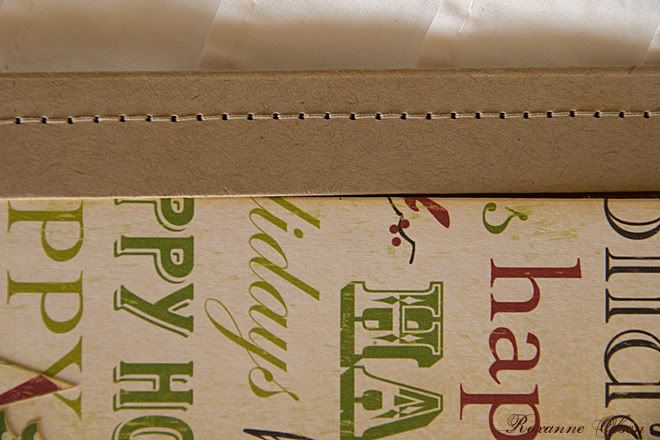
this image shows you the off-centre stitching. i also stitched the spine twice (backstitching).
it also shows you how the cover fits into the spine. like those matchbooks you used to get from restaurants. the left portion is already tucked away....while the right portion is still being slid into the space.
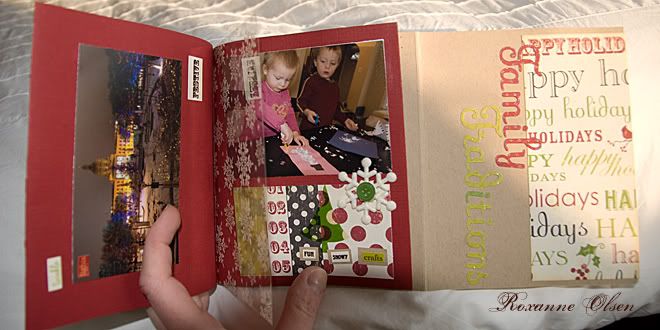
opened to the middle pages of the album. remember that the red pages consist of the album. it is only 2 pages. which means you get 4 pages to decorate. you can see the acrylic journaling page in between these pages. this album was not made to lie open. if i wanted that i would have used lightweight papers....i think that would have worked. or perhaps a larger size too.
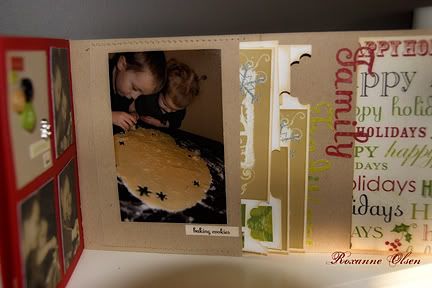
this is the same photo i showed yesterday. you can see the stitching across the top and the bottom on the centre page. i cut the page to 4x6, adhered it with a tiny bit of adhesive to prevent it from slipping when i sewed. i left the sides unglued, so that the recipe cards can be slid in easily.
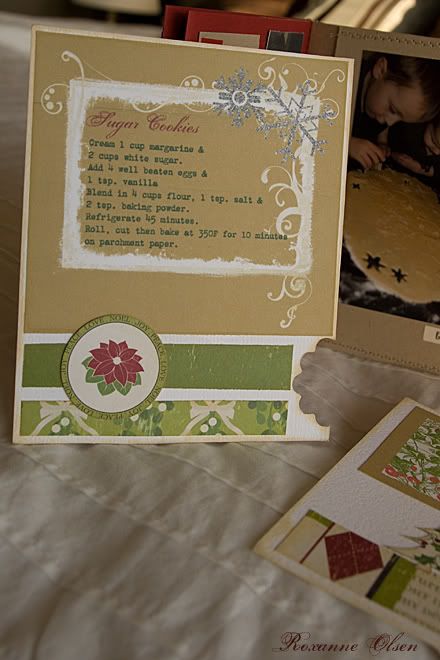
here is the view of one of my recipe cards. i added my recipes and pictures first, then i added some embellishments.
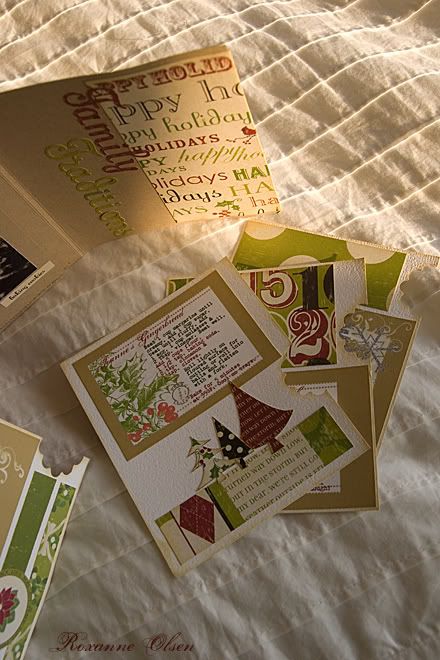
here is the view of the other 3 stacked on top of each other. sorry, i didn't take photos of each of them individually. hopefully this will give you enough of an idea how they looked!
i had the best time making this album. yes, that included the measuring and decisions! if you make one, please send me the link to your photos. i'd love to see other versions. different holidays. different sizes. if you have any more questions, please ask! i will totally try to do another album before the month is over. this time i'll take photos as the album takes shape and then share the tutorial here.
and if you are new here...i also posted the instructions on my blog yesterday (with measurements). i also included jpegs of the recipes that you could print out at home.
enjoy!

No comments:
Post a Comment
Thank you for taking the time to comment!