
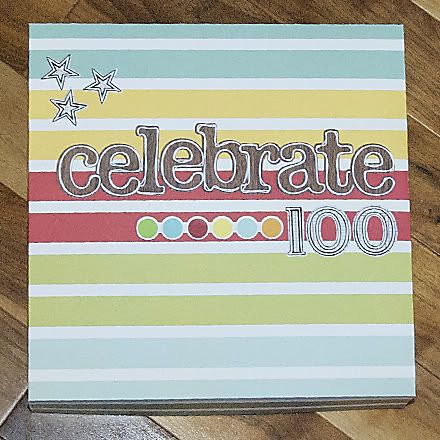
yesterday was a BIG day for the grade ones at our school. each morning they have been at school, they have been counting the days. it is a practical way to help introduce place value...ones, tens, hundreds....yes, the school teacher side in me is coming out! last week we were "warned" of 100's day. the kids needed to bring some supplies from home to help celebrate. 100 food items for their "trail mix/salad" and 100 items to glue onto a poster.
Aidan was pretty excited about it too. the week of counting up to 100 also helped build the anticipation. i got thinking about it and decided it would be fun to add another contribution. how about a rosette/pinwheel for each student in the class?! his teacher didn't hesitate to say yes.

made 23 pinwheels. added the punched centres (a scalloped circle and a smaller circle). designed a logo in Photoshop. printed and cut them out to look like little banners. then added unique ribbon tails. not a single one looked like the other. i was not sure how to get them to attach to the kids. my first thought was a paperclip. after everything was finished i came across some other project where someone attached a safety pin to a paper clip...not a pinwheel, but it would have definitely worked in my project. i decided to use Sookwang tape. would you believe that an inch strip from a 1/2" roll held these pinwheels onto shirts for a school day?! that stuff is STRONG!!!! we're talking active 6 year olds. even the teacher had a heavy knitted shirt and hers held strong too.
the making of the pinwheels was not difficult. i did sleep that week. and my family did not have to starve!
the easiest way to make them is to use Tim Holtz' alterations die. it even perforates the folds for you, as well as cuts the top and bottom circles at the same time.

the second easiest way is to use Martha Stewarts' score board:

i scored the entire 12x12 sheets of paper at once. {since the paper was quite thick, i came up with another time-saver. i scored every half inch on one side....turned the paper over and scored the quarter inch fold. this gave me score lines that easily made my "hill" and "valley" fold. not necessary with thin paper, but very helpful with heavier weighted cardstock. there's your bonus tip!}
then i trimmed the sheet into 3x12 inch lengths. {make sure you cut AGAINST the score lines....you want to have them going HORIZONTALLY along the strip, not parallel to your cut lines.}
{too bad i didn't think of grabbing my camera at this point!}
i really love the decorative edge. so i added a step and used my fiskars upper crust border punch. simple and looks great on a pinwheel.
then i folded them accordion style. all at once.
adhered the 1/2 inch from one end, over the 1/2 inch from the other end with my 1/2 inch sookwang tape. {made much easier with my teflon coated tonic scissors!} always make sure to keep the hill/valley folding all around the loop. it looks kind of like a kids' bracelet or fancy paper tube at this point. if the folds don't have a continuous accordion then you will have problems at the final step. if you have to cut off that 1/2 inch it is better to do it at this point and get yourself on track.
it really helped to keep doing each step one at a time with all of the pinwheels. much quicker!
then i got my hot glue gun ready with lots of extra glue sticks nearby.
while my glue heated up, i punched out the underside circles. i found my scallop circle punch was the perfect size for these pinwheels. i wanted to be sure to have enough surface area to attach my ribbons later.
the most difficult part was adding the ribbons. the gluing of them was easy....it was just picking them out and keeping them all looking unique. i used up some old ribbon and also bought some new colours. i used approx 6 inches of ribbon in 5 different colours for each pinwheel. most of that was ribbon i had in my stash and needed to be used!
the score board was very helpful. made the whole job very quick. you don't have to move the paper, so less thinking is required. one of the best tools i have bought for my money!
the box was equally easy to make. i started with two 12x12 sheets of paper for the box and the lid. the instructions are on the lid of the storage compartment for the bone folder.
No comments:
Post a Comment
Thank you for taking the time to comment!