a few Christmas' ago i came across a really cool flower globe on the blog 'a daily inspiration'. {i am very sad that it is no longer updated....there were so many cool ideas and techniques here} i made my version that same Christmas and it looks even better with the colours in our new home.
it's funny because the same flower folding has shown up in a few areas recently. Godrun Lennecken shared a bouquet she made using them. {i had forgotten that she shared her own tutorial and even linked back to the tutorial she used....found both just now. never mind the time i spent doing my own photos! oops!!}
then i saw the same flowers on a card or layout. for the life of me i can't remember what paper or who it was who made it. anyways, i simply had not thought of using them on a layout. i was inspired.
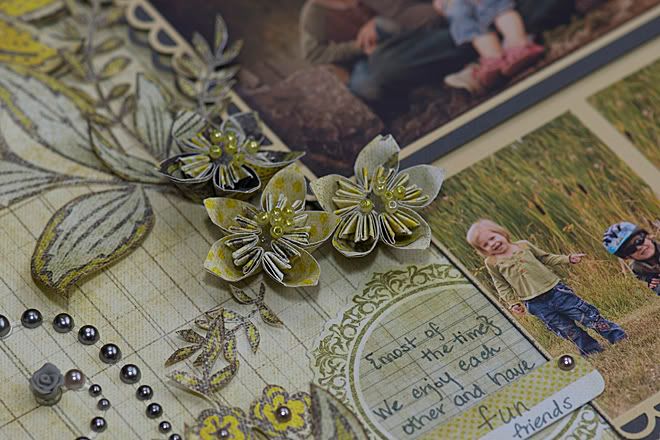
this is what i came up with!
my only problem was that the flowers were just a bit too high for the page.
so i changed up the design slightly.
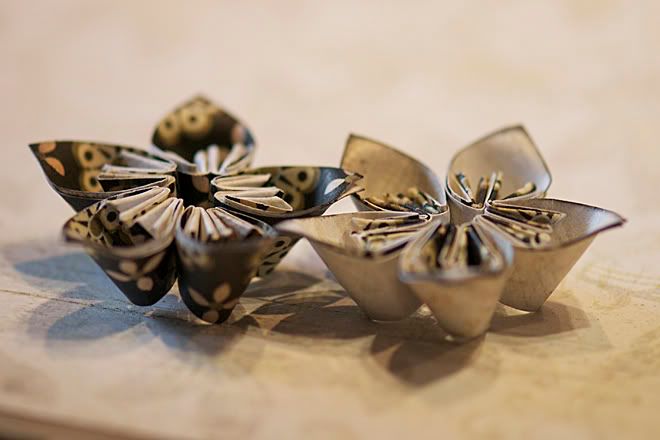
this is the side view of a finished flower.
each petal is made individually. each flower is made of 5 petals.
if you were to make the globe, you would need 12 flowers. yes, that is 72 petals. a lot of work, but totally worth the effort.
here is my version of the instructions!
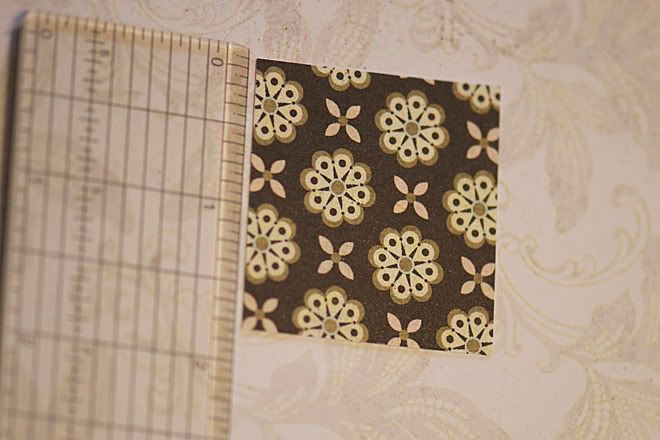
start with a perfect square.
{tip: the first time i made these i used a 4 inch square. i would totally recommend starting with a larger size. the smaller the square, the more tricky it can be. the larger the square, the larger the finished flower.}
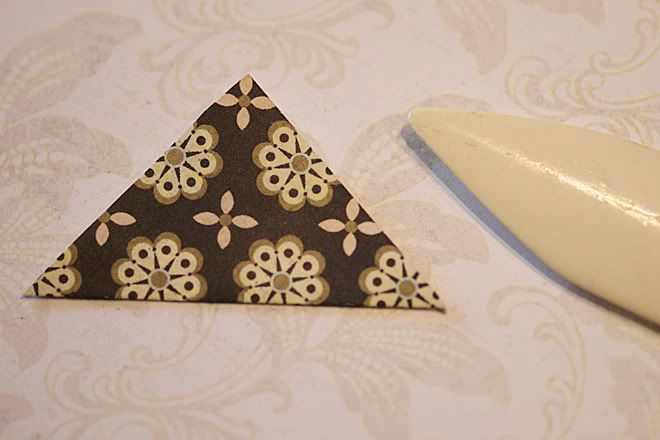
fold your square in half, on the diagonal.
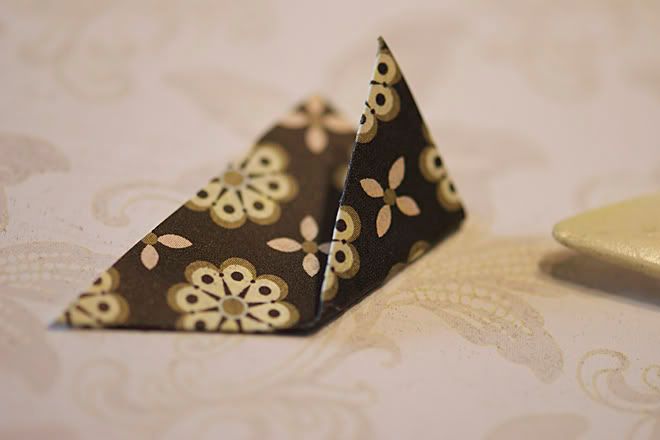
fold one outside corner up to the middle corner.
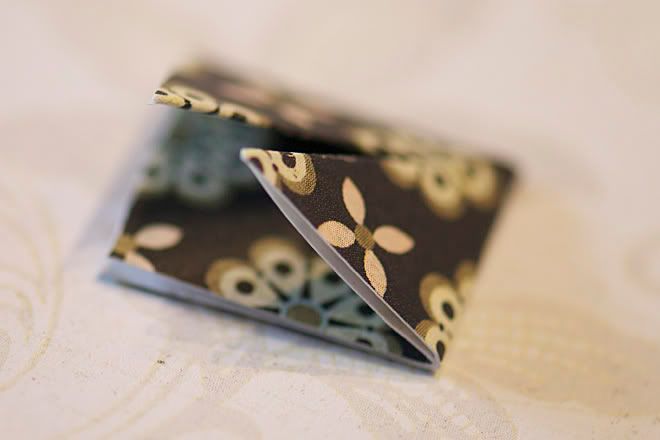
do the same with the other outside corner. now you are back to the square shape, just smaller.
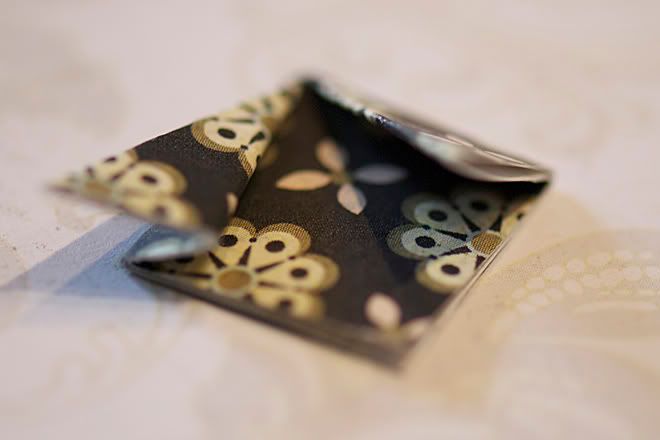
fold back the fold in half. the edges should line up evenly. it is hard to see that in the photo because the paper springs back! the edges will match, but you will have the corner sticking out.
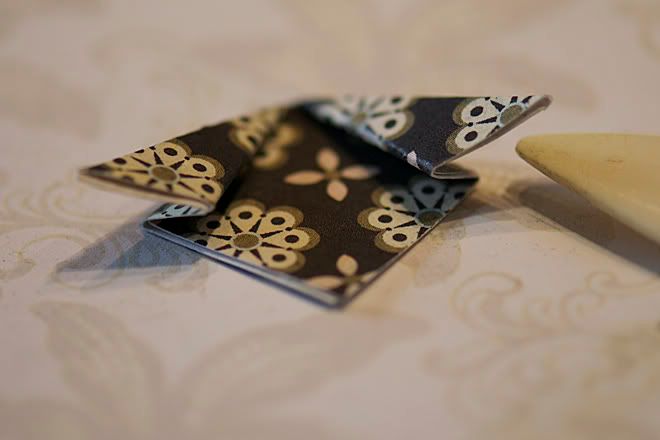
do this with both sides. to me it almost looks like a frog at this stage.
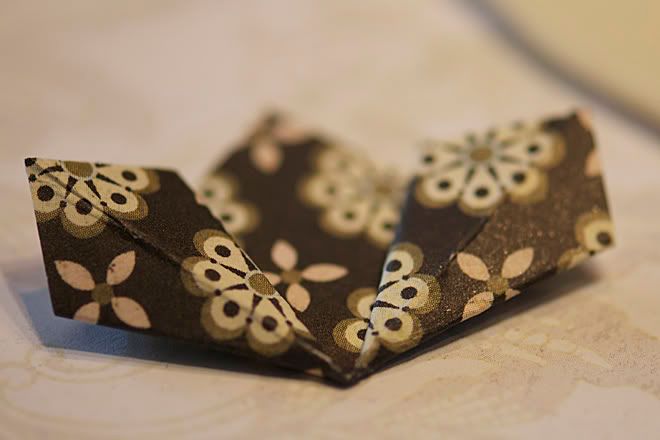
Godrun (step5) has a great photo of this. you are going to reverse one of the fold lines on those corner folds. the inside fold stays the same, the middle fold will be flattened, and the outside fold is reversed. this is what it looks like AFTER you redid your folding.
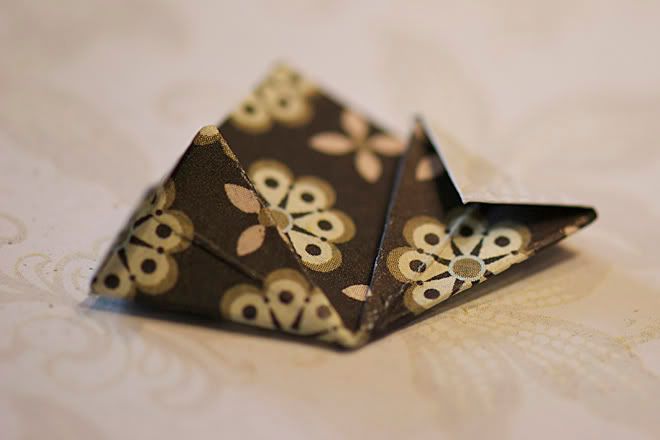
at this point, you are going to fold back the tips. here is the view from one angle....
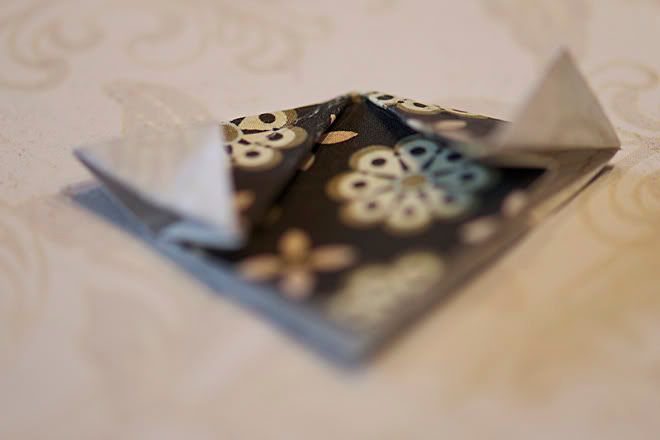
....and the other angle. can you see through my blur? must work on that focus!!
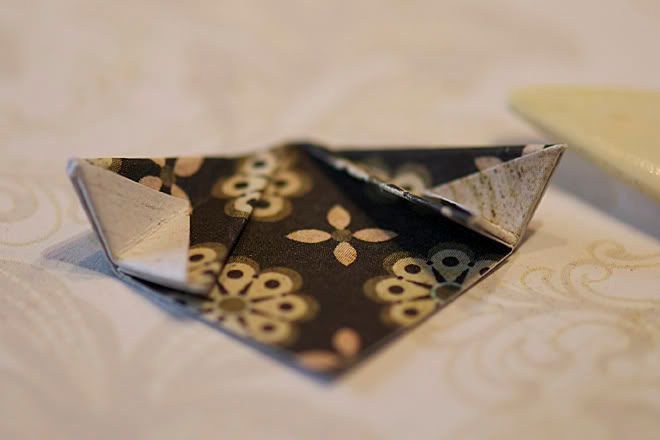
at this point you will refold that section of paper one last time. fold along that middle line. in my photo, it looks like i unfolded it, but it just sprang apart when i let go to take the photo. the next step involves glue, so those folds won't come apart!
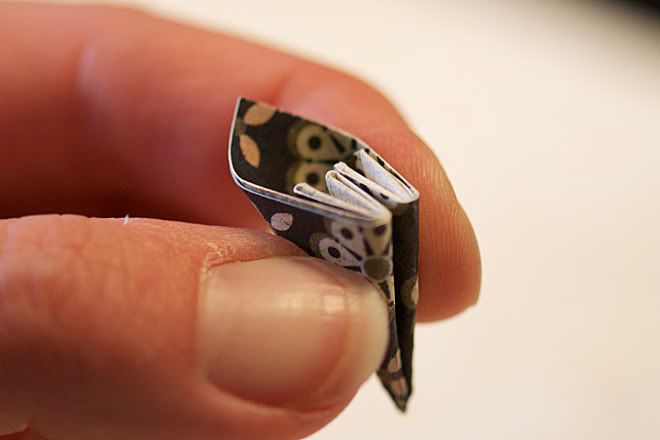
if i were to continue to make it like the globe flower, or for a bouquet then i would add my glue at this point. you can see the large fold line on the right side? that centre fold is the place where the petal is glued together.
here is where i changed it up a bit.
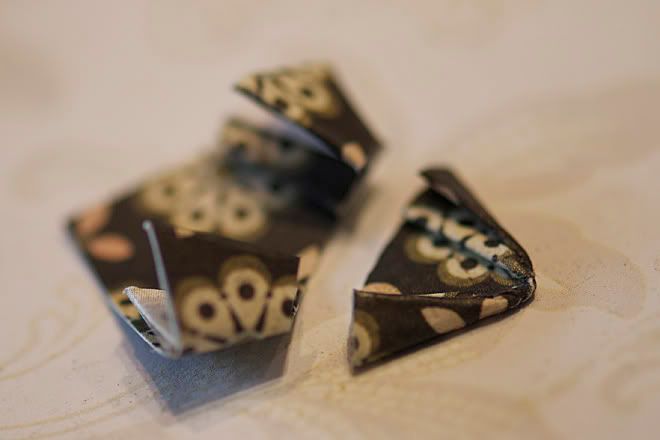
the first flower i made i cut the tip off after it was folded and glued. what a pain! it had to be re-glued. and it was tough to get my scissors and craft knife blade through all that thick paper. although it would have been fun for someone to watch me struggle!
my tip is to cut off the bottom tip BEFORE you glue. and don't cut a straight line. give it a slight curve. the curve will go away from the tip, and towards the middle.
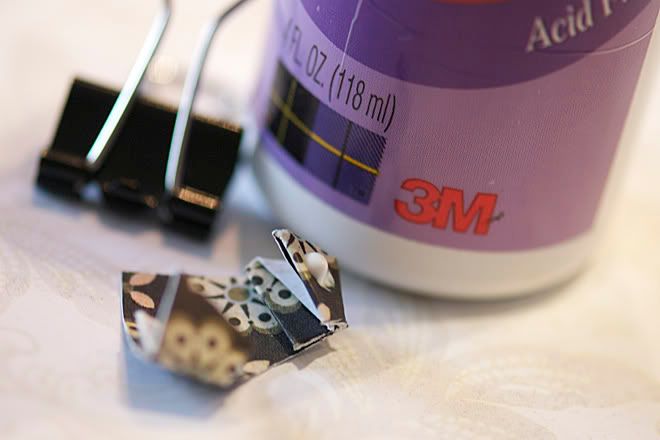
i also found those little binder clips very handy! you'll see. just a dab of quick drying glue. this is the same spot you would put the glue if you weren't cutting off the tip.
{yes, hot glue would work. but i am not so skilled at keeping myself from getting burnt! so cold glue it is for me.}
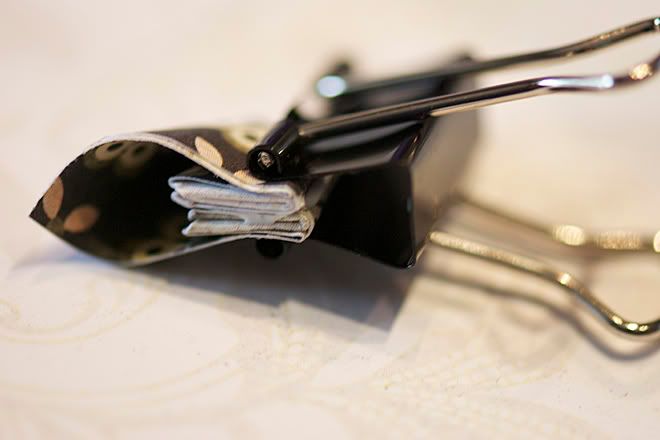
use the binder clip to squeeze the edges together. you could hold this with your fingers too. it takes my glue about 3 minutes to set nicely, so the clips allow me to move to the next flower. i find 2 clips is about all i need. by the time the 3rd petal is needing the clip, the 1st has dried.
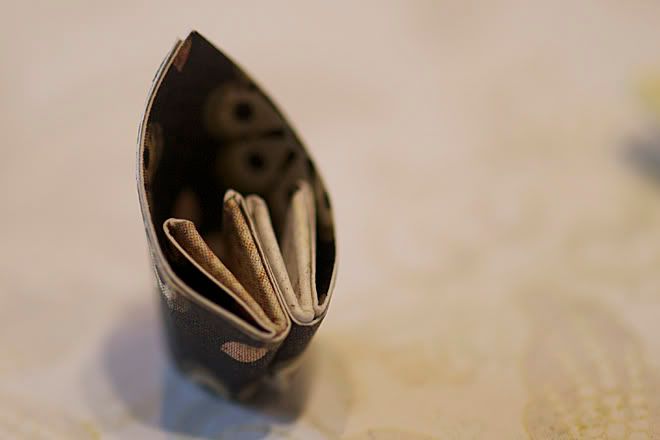
once it is set, this is how it looks. this is one of the five petals you will need. use the same size square for all 5 of the petals.
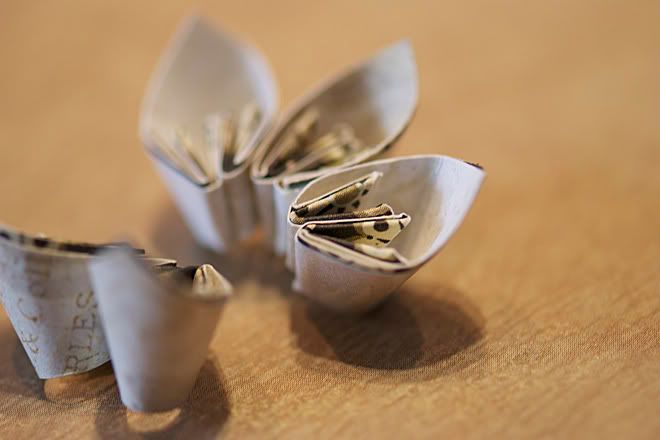
just add some glue in between the petals. glue two of them together at a time. then add the 3rd petal to one of the pairs. when that glue has set, glue all 5 of them together.
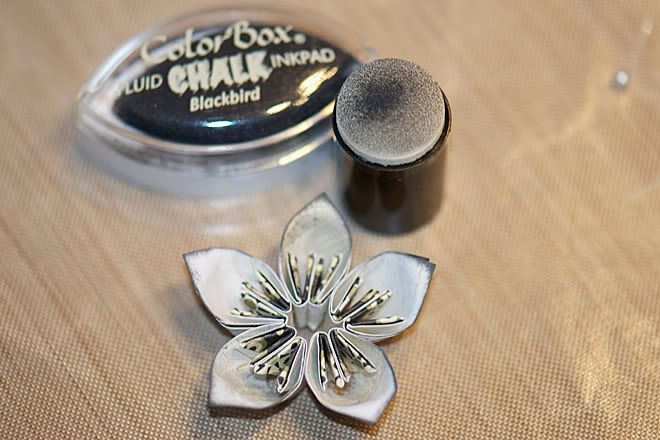
to keep the bulk down, i also curled the petal tips downwards slightly. a bamboo skewer works really nicely for that.
for this flower, i added some ink to the edges.
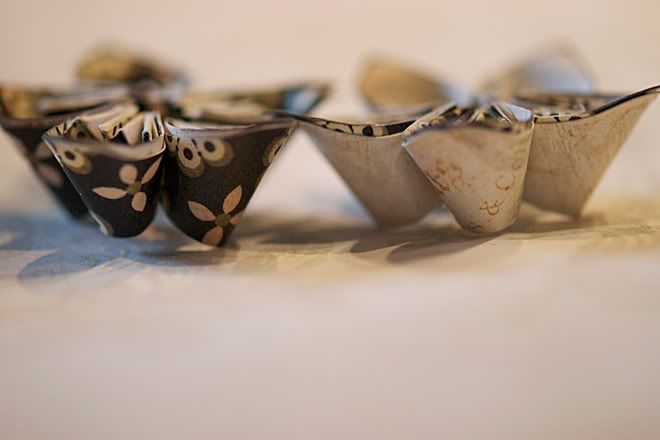
here is the side view.
you can see the slightly curled tips better.
when you adhere them to your layout, a few glue dots should hold them. again, the glue gun would also work nicely.
on the above layout, i used a square punch to get all the squares cut to 1 1/2 inch.
the patterned paper had some flowers that looked very similar to the ones i made. they also had stamens in the centre. i decided to add my own!
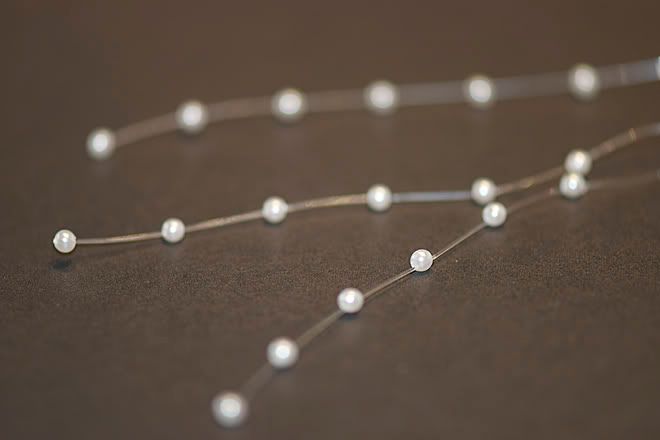
i had these pearl strands in my stash from an old shopping trip at WalMart. i think they were meant for bouquets or cakes. there were 4 of the strands in a bunch.
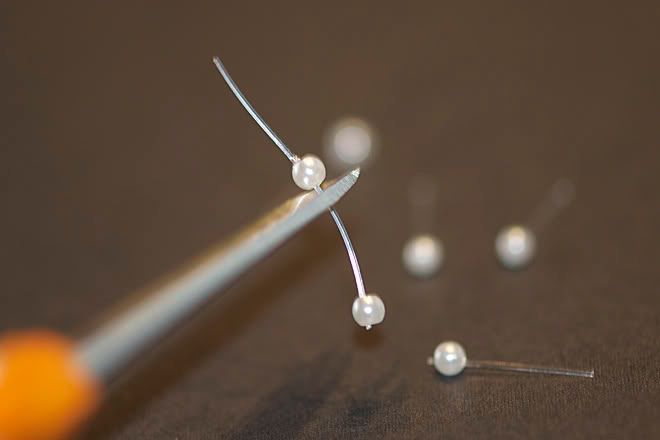
i cut them so that they kind of looked like pearl lollipops.
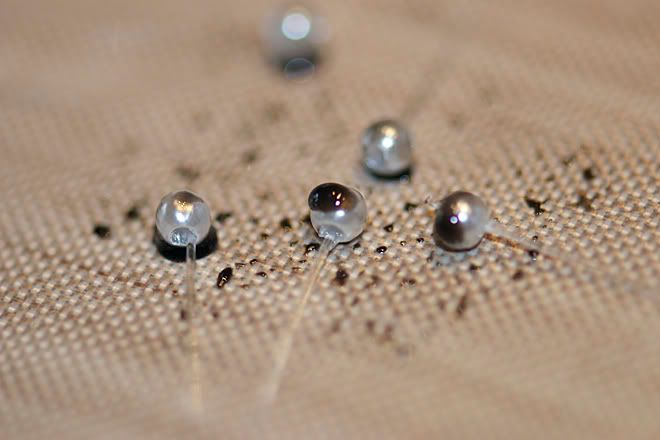
if i want to change the colour of anything, i use some alcohol inks. i've also been doing some experimenting with ink mists too. this was the SilverFoil SMOOCHspritz. some ink pads work well too.
and i just realized that i forgot to take photos of the fully completed flowers with their stamens! i set the flower down on my splat mat. it is like the silicon baking sheets. EVERYTHING comes off of it. i squeezed a good portion of my quick drying glue in the centre of the flower, and poked the stamens (6 in each flower) right into the middle. my glue dries clear. due to the large portion of glue, it does take about an hour to dry. do all your flowers at once and set them aside to dry. again, hot glue could work. like i mentioned earlier, hot glue and small areas and me do not do well. old fashioned is the way for me!

here is that view again. for these flowers i used a green ink to colour them.
while i waited for my glue to dry, i thought of a new flower.
if my glue had fumes i would blame it on that. can't go with that excuse. can't use boredom either. normally i don't care much about using scraps. honestly, the scraps go to my kids. i have enough paper that once i use some of it on a layout or project them i'm ready to move on to the next sheet!
i noticed that the little tips that i cut off my flowers sort of formed their own little flowers. maybe it was the pile of them on the corner of my mat.
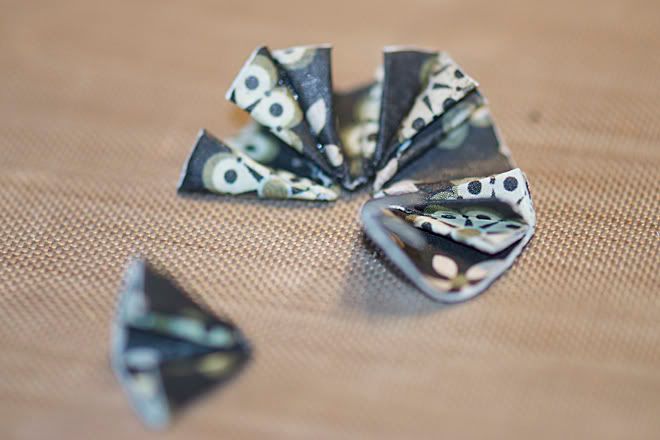
i glued the edges to each other like this.
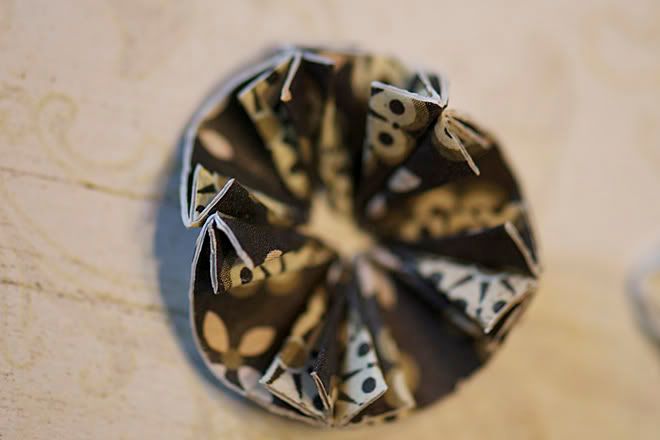
and this was the finished flower.
not breathtaking. but different. and simple.
now, go create!!

No comments:
Post a Comment
Thank you for taking the time to comment!