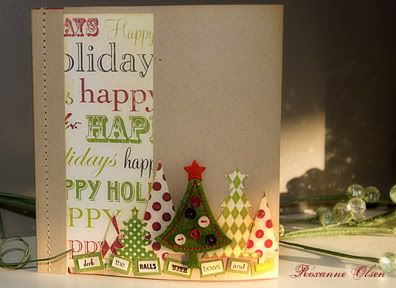
here is a tutorial. with photos. directions too. can't forget those measurements either!
here we go!
BEGIN with a sheet of cardstock 6x12 inches.
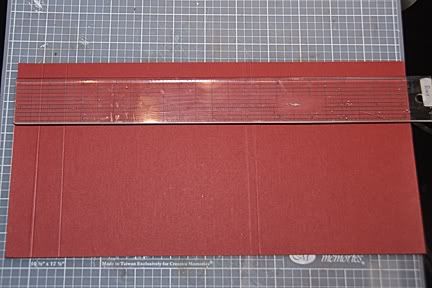
make 4 score lines.
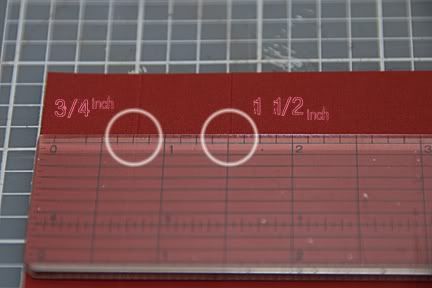
the first at 3/4 inch and the second at 1 1/2 inch. they do not need to be super exact. phew!
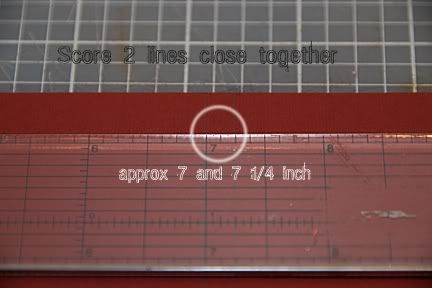
the third at 7 inches and the forth at 7 1/4 inches. again just be approximate!
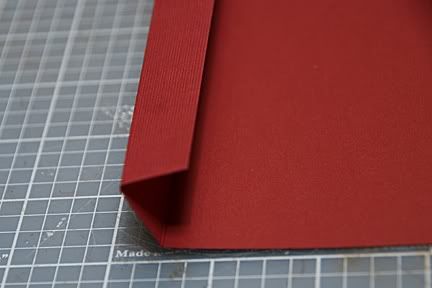
now fold the first two score lines towards the longer side of the paper. your corner will look like this.
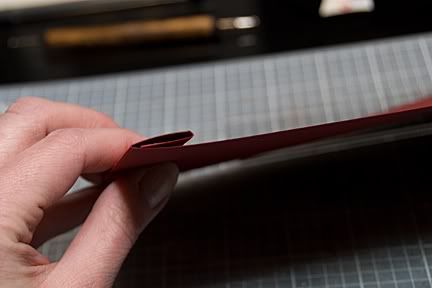
and when it is flattened. it will become the spine for the mini.
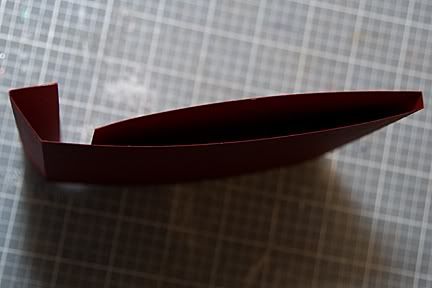
now go ahead and fold along the remaining two score lines. this time fold the oppposite direction...toward the spine. if you stand the sheet on its' side, it will look like this. yup, those folds for the spine will keep popping out. we'll fix that problem soon.
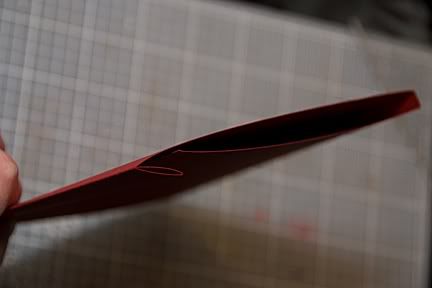
when you hold them shut, this is how it should look.
how are we doing so far? you are nearly done the most complicated part of the album. isn't that great news?! i thought you'd like that.

if you want to make an inner pocket or folder, here are the next set of steps for that. whenever i share this part of the mini, it is this part that makes most people exclaim their awe. it is always nice to have something extra for that 'wow factor'. {grin}
cut a sheet of cardstock to 4x6 inches. you could use a photo. again, it does not need to be exact. measure so that it will fit the space of 4 1/2 inches by 6 inches - the width of the centre of the album.
i used Scotch Quick Dry adhesive for the very top and bottom edges. use a product that you know to work.
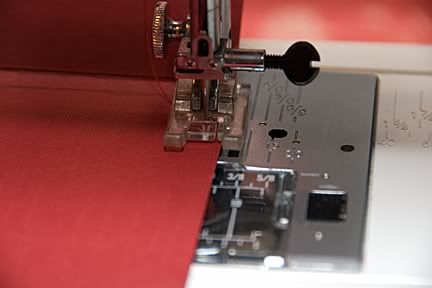
the adhesive does not need to be super strong, but it is nice for some extra reinforcement. we will stitch along the top and bottom edges anyway.
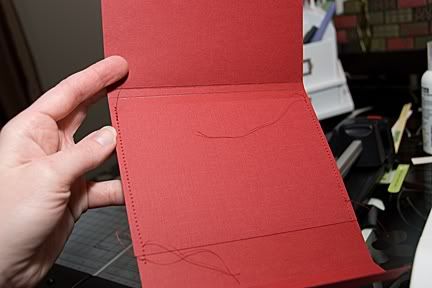
it will look like this. please trim your threads! a little bit of backstitching along the edge of the stitches will also help.
put this part aside for a few minutes.
now let's assemble the pages.

keep in mind that you can't have a lot of thickness here. i keep using cardstock, but a copy paper or linen paper will also look lovely. if you used linen paper, then you may be able to add another page or two.
for this album, i cut 2 sheets of cardstock to measure 10 1/2 inches by 6 inches. then score at the halfway point. which would be 5 1/4. right? now fold the sheets in half, along the score line.
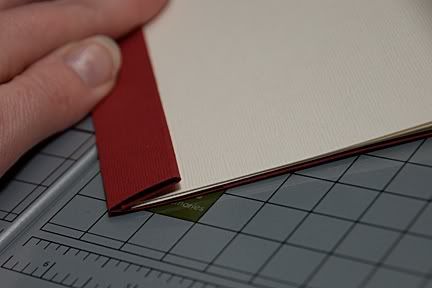
i should have shown clearer detail here. you will insert the cut sides of your inner pages into the spine, while the folded sides face the centre-ish of the album.
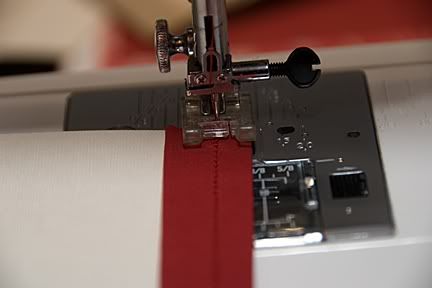
you don't need to glue anything here! just sew off-centre, towards the left side of the spine. stitch from edge to edge. for both albums, i stitched over the first set a second time. i am also addicted to backstitching. so i did that too!
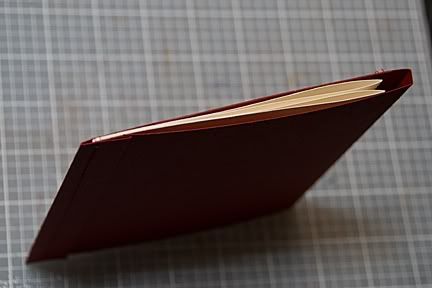
here is the top view of your finished mini-album.
yup. you heard right. you are done! and the crowd sends out shouts of applause....
you can see the folded sides of your pages.
i trimmed my inner pages a bit too short. but see, it still worked. the edges of the pages just didn't line up exactly along the spine. no sweat! if you did what i did, make sure that you can still sew the edges in, and have enough space along the centre fold to close the album.

now, to close your album....
just slide the top cover in between your spine and your first page. remember when restaurants offered matchbooks? this cover closes just like a matchbook.
in a way, this is like an oversized matchbook album.
just don't use it as kindling!!
did i hear you say that it is not quite finished? empty?
true.
the final step will be the fun part! you can fill it with some of your favourite photos. quotes. top adventures from Christmas.
here and here are some close up pictures of my Christmas Traditions album.
tomorrow i will share the photos of my completed album. this time it just had some photos of my favourite things. a love book.
now, please, please, please....this is my project. i'd love for you to share it with others. i only ask that you credit me with the idea. {note the copyright above} thank you. if you do make this little album, i would be so happy to see photos of your work! i think would make a nice little 'thank you' or 'thinking about you' gift.

ThIs is such a fabulous album! thank you so much for putting together this tutorial!! just fabulous!!
ReplyDeleteps what do you use to score?
I loved your album so much that I made one for Valentines day. You can view it on my blog.
ReplyDeleteThanks for sharing!